Because I didn’t post yesterday, I had a few notes asking if I was okay. I acknowledge that it is rare for me not to post at least something. Yesterday, however, I wound up pretty busy and hampered by a bandaged ring finger.
I needed a break from screen time.
That didn’t stop me from doing a few things that require some dexterity of the non-typing kind.
For example, I am reviving a Canon digital SureShot Powershot camera which had sort of died on me. Rather, the view screen died, which made the camera less than useful. It could take photos, but you couldn’t see what you were shooting, change settings, etc. So, I ordered a new view screen from a spare parts store online and set to work.
This unit had seen quite a bit of action, and it took great photos. I considered buying a new one, but figured that a few bucks repairing this could be worth it, even as a back up. What I found about sending it somewhere for repair was daunting in regard to time and expense. Nope. DIY!
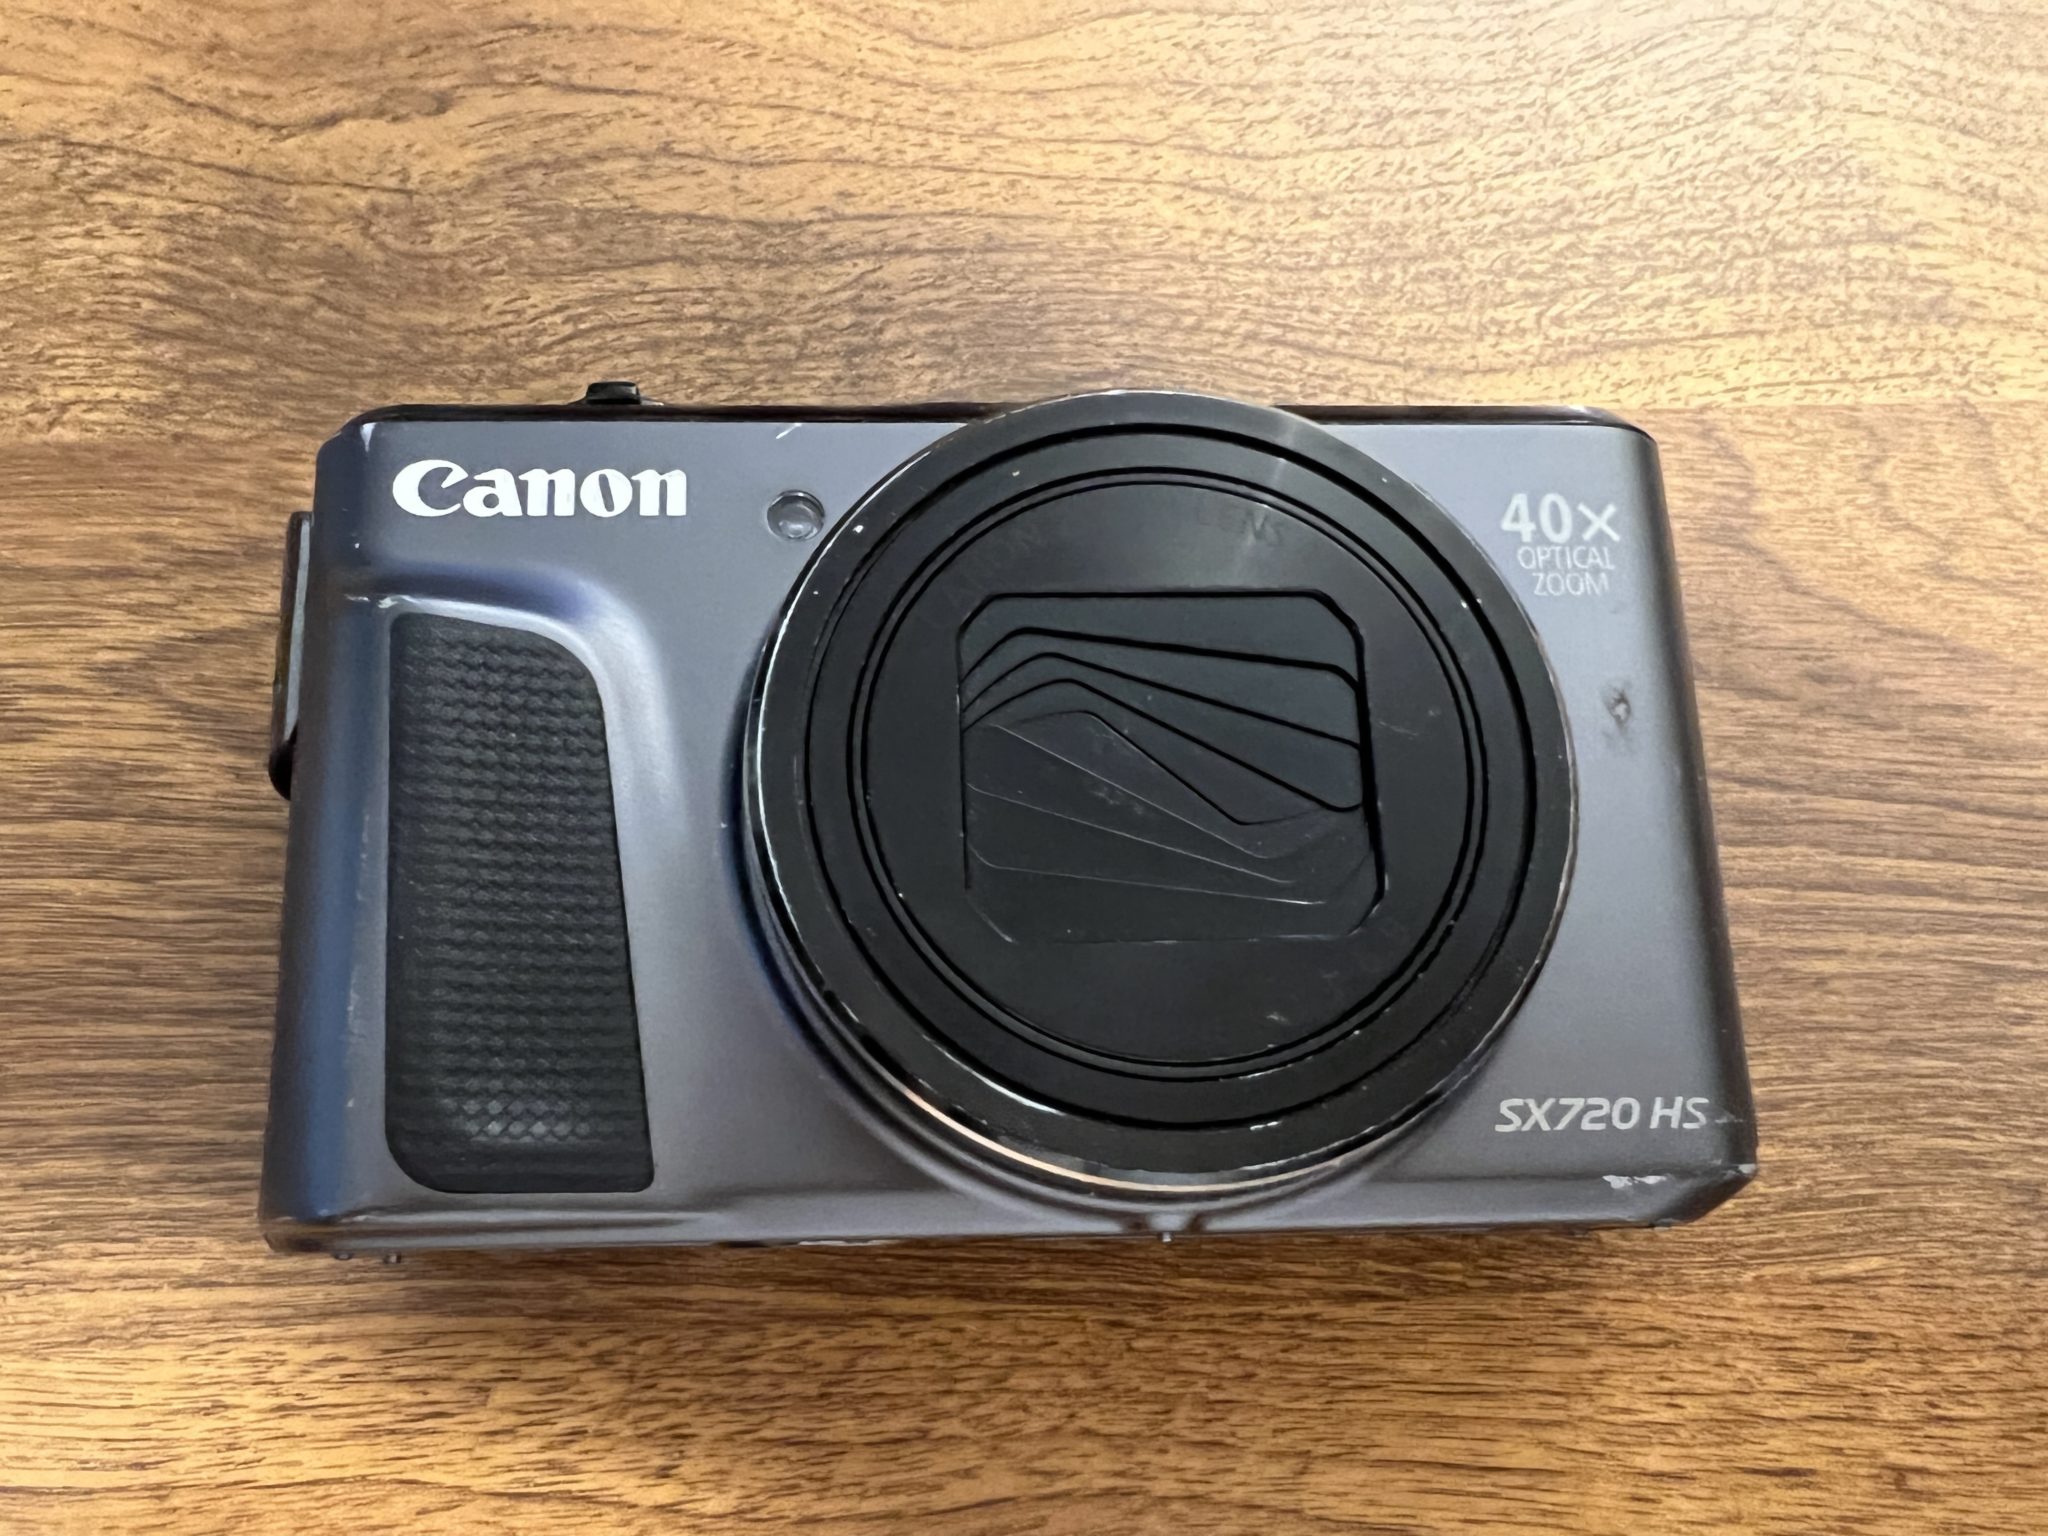
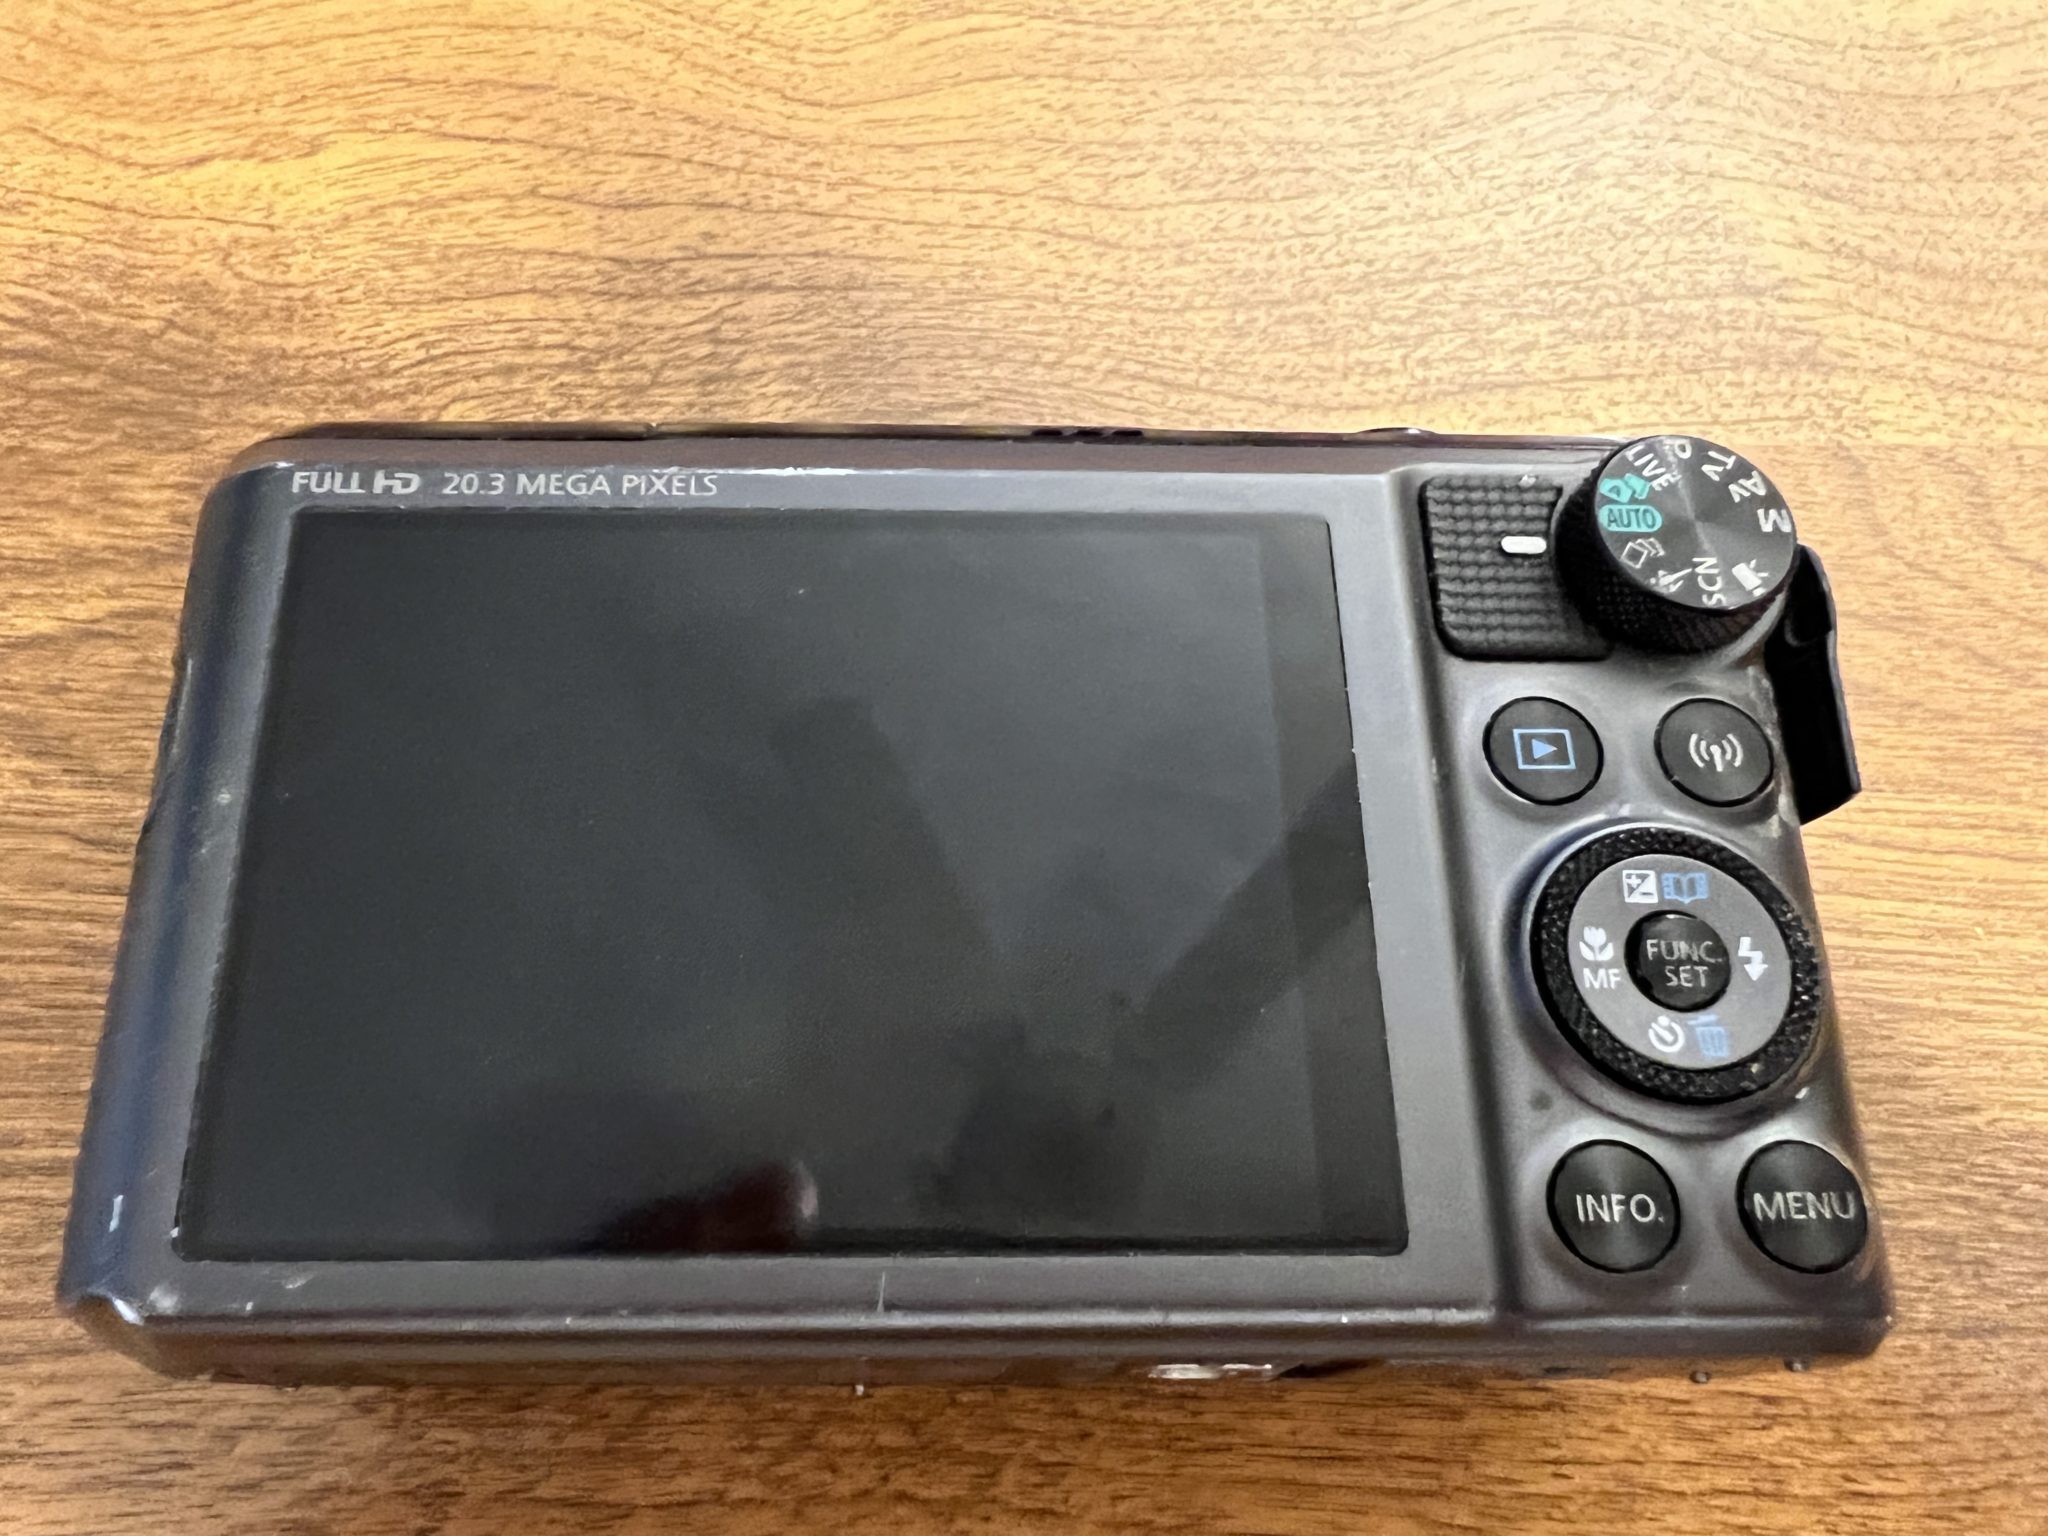
This is the offending screen.
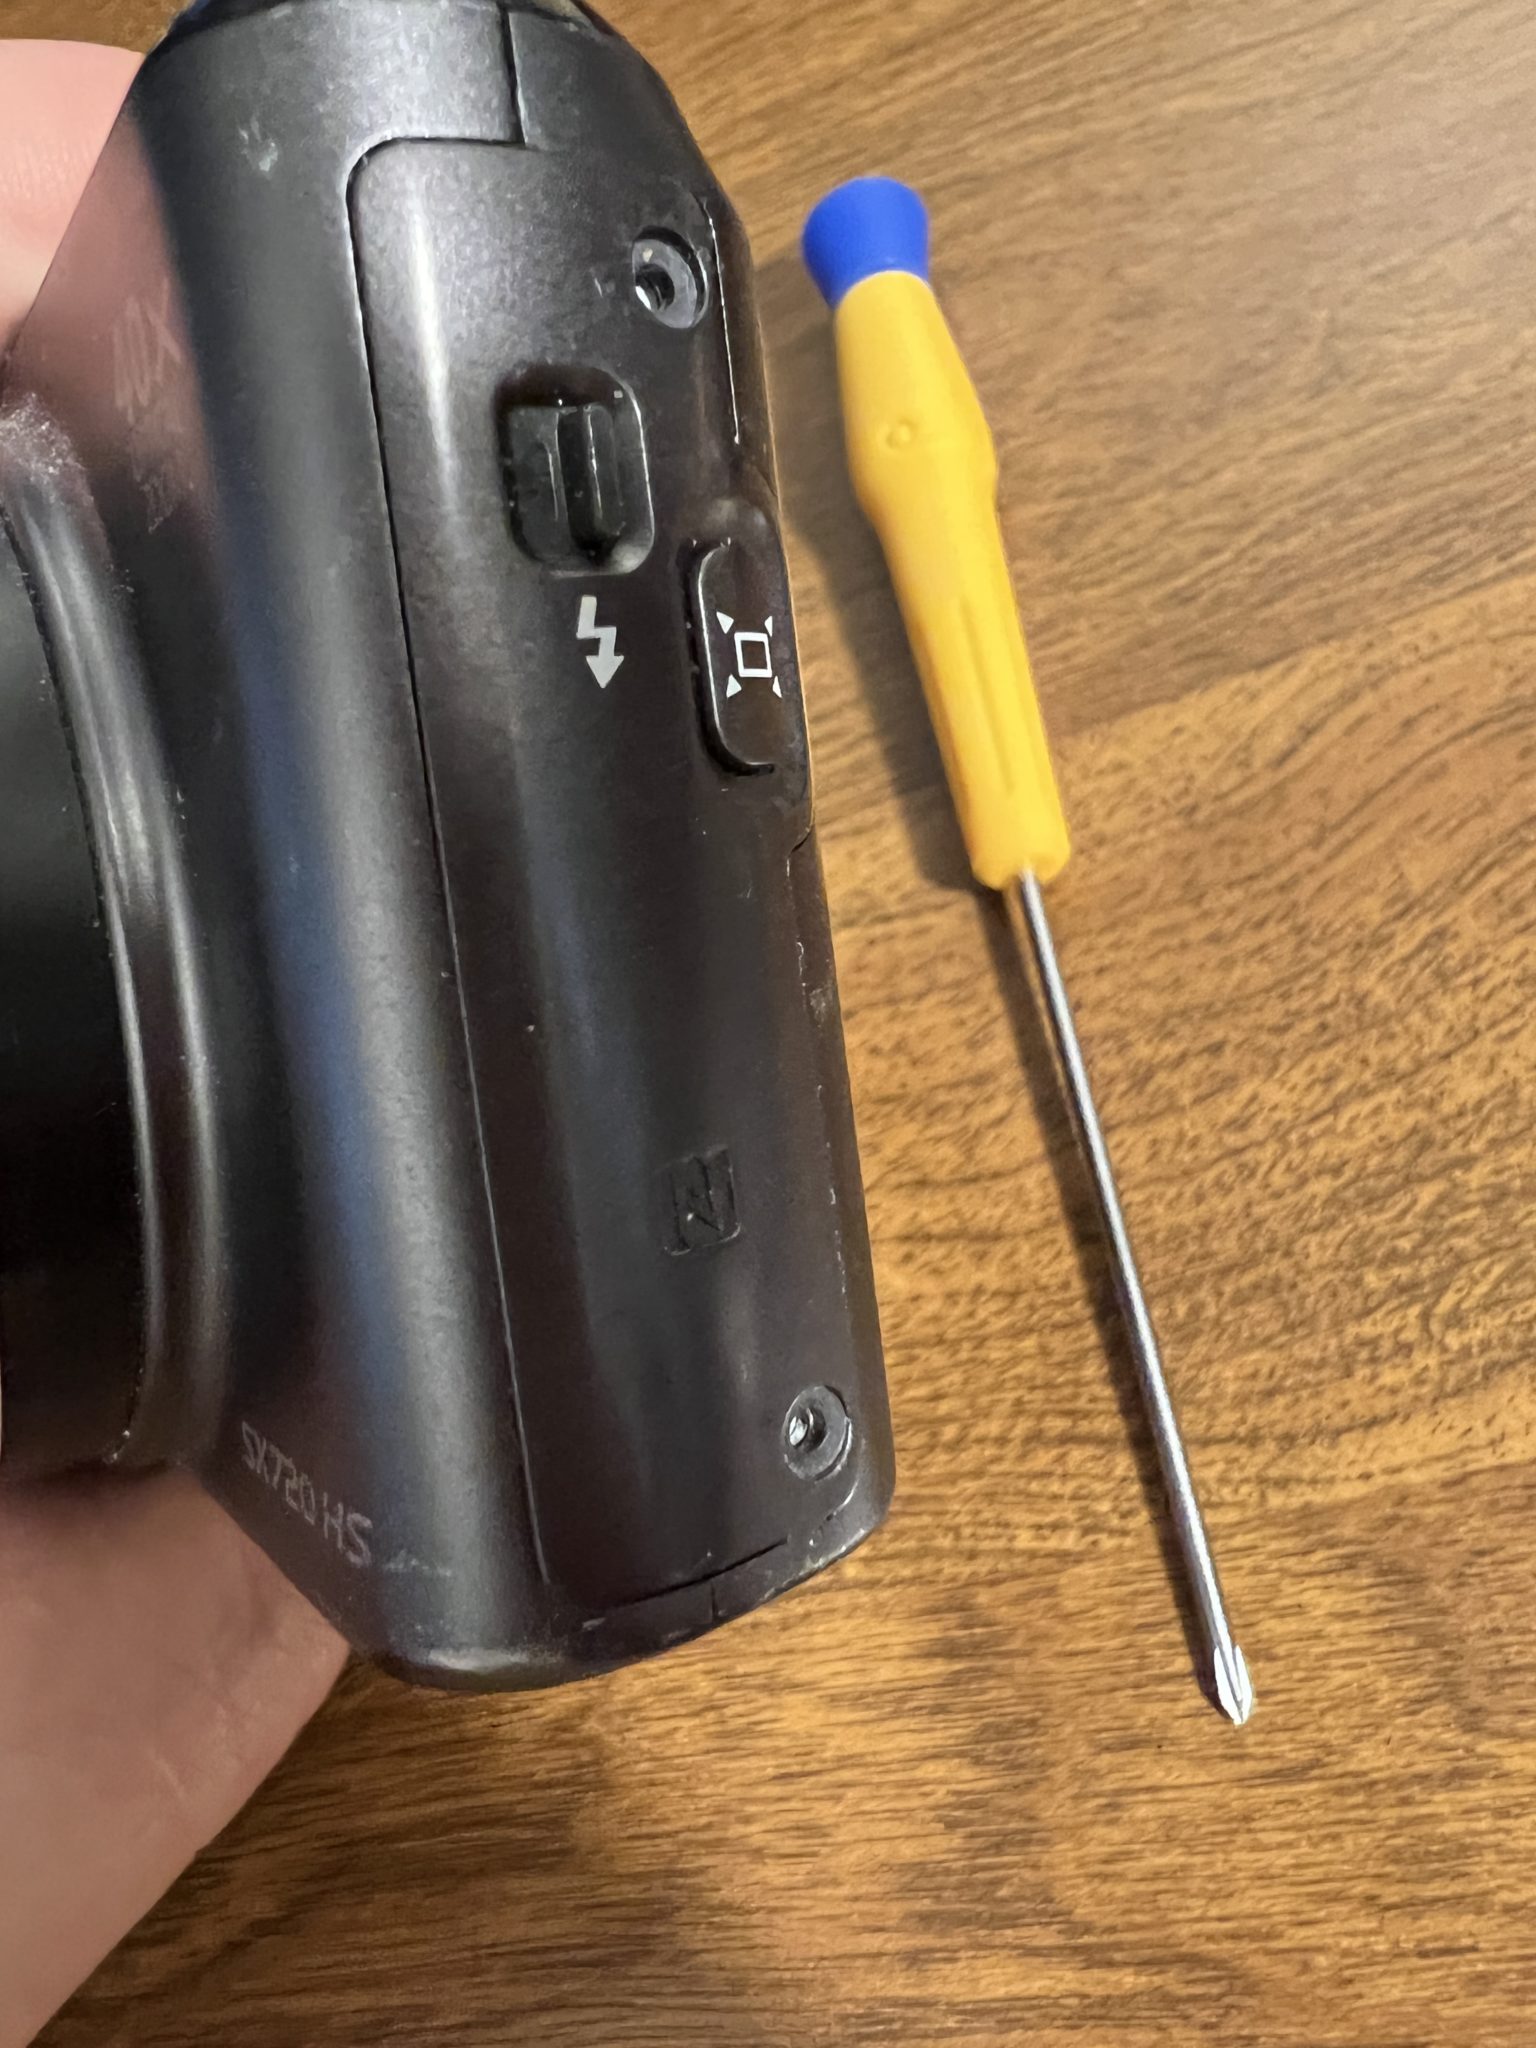
Gotta get the back off. Screw removal commenced.
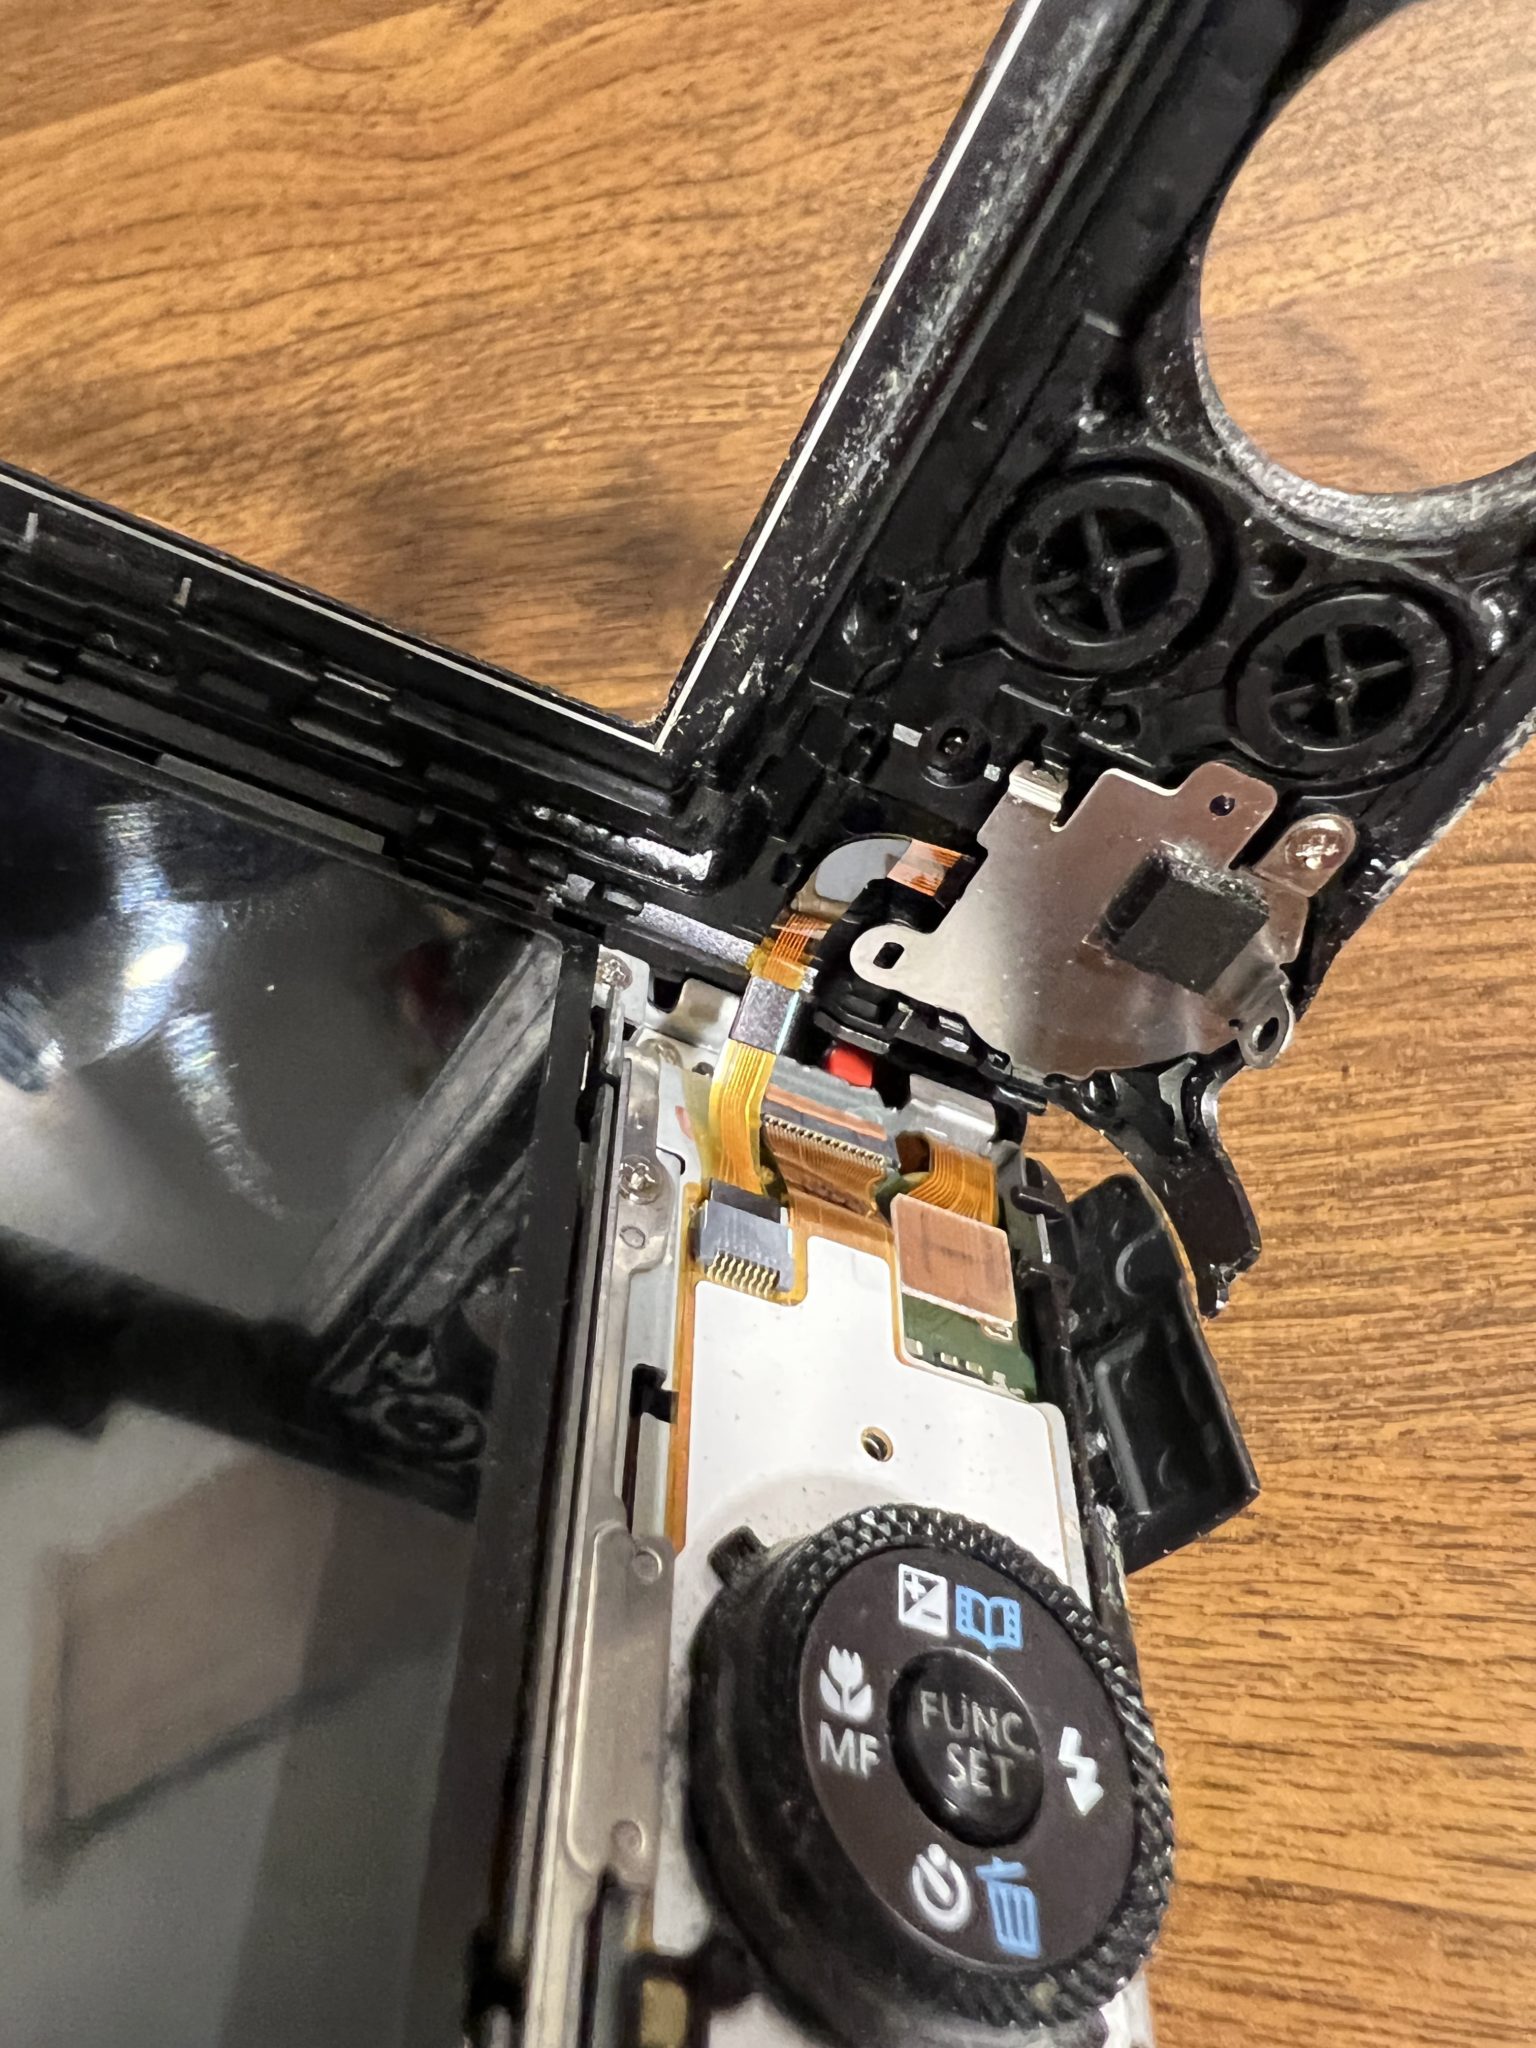
Take not of that yellow connection ribbon that goes up and turns orange. More on that later. First it has to be detached.
Time to remove a bunch of tiny screws that hold that dial assembly on. Note that there are different lengths, though the heads are the same. It is important, as you extract assembly screws, to know which go where.
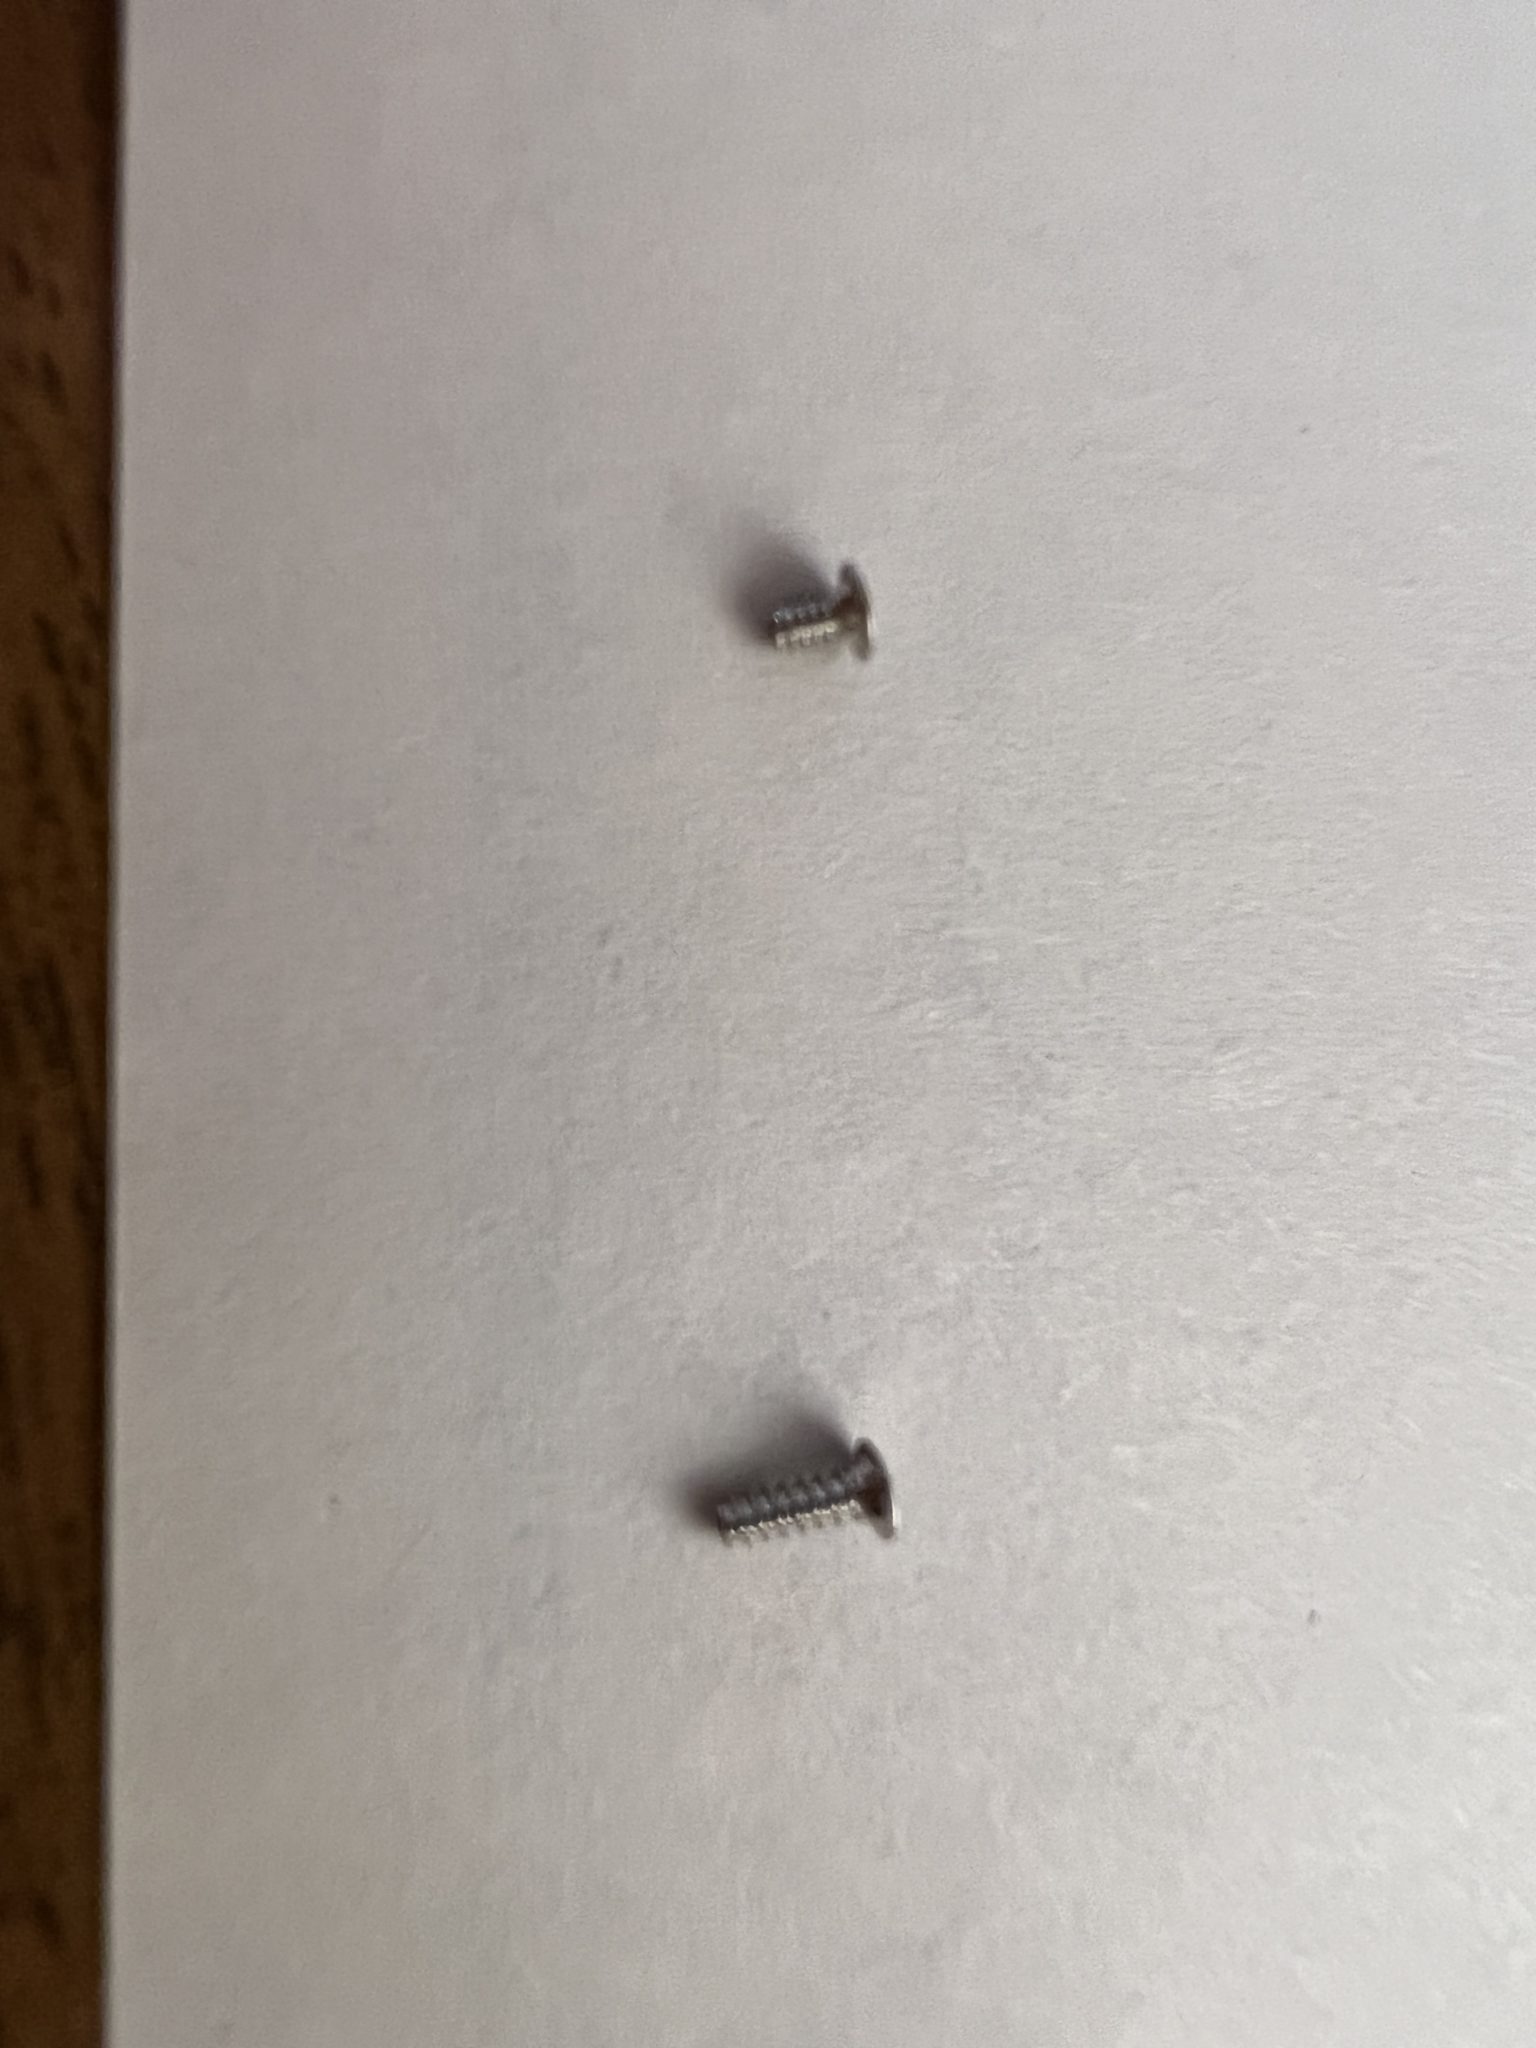
With a red pen I made marks where the longer screws go.
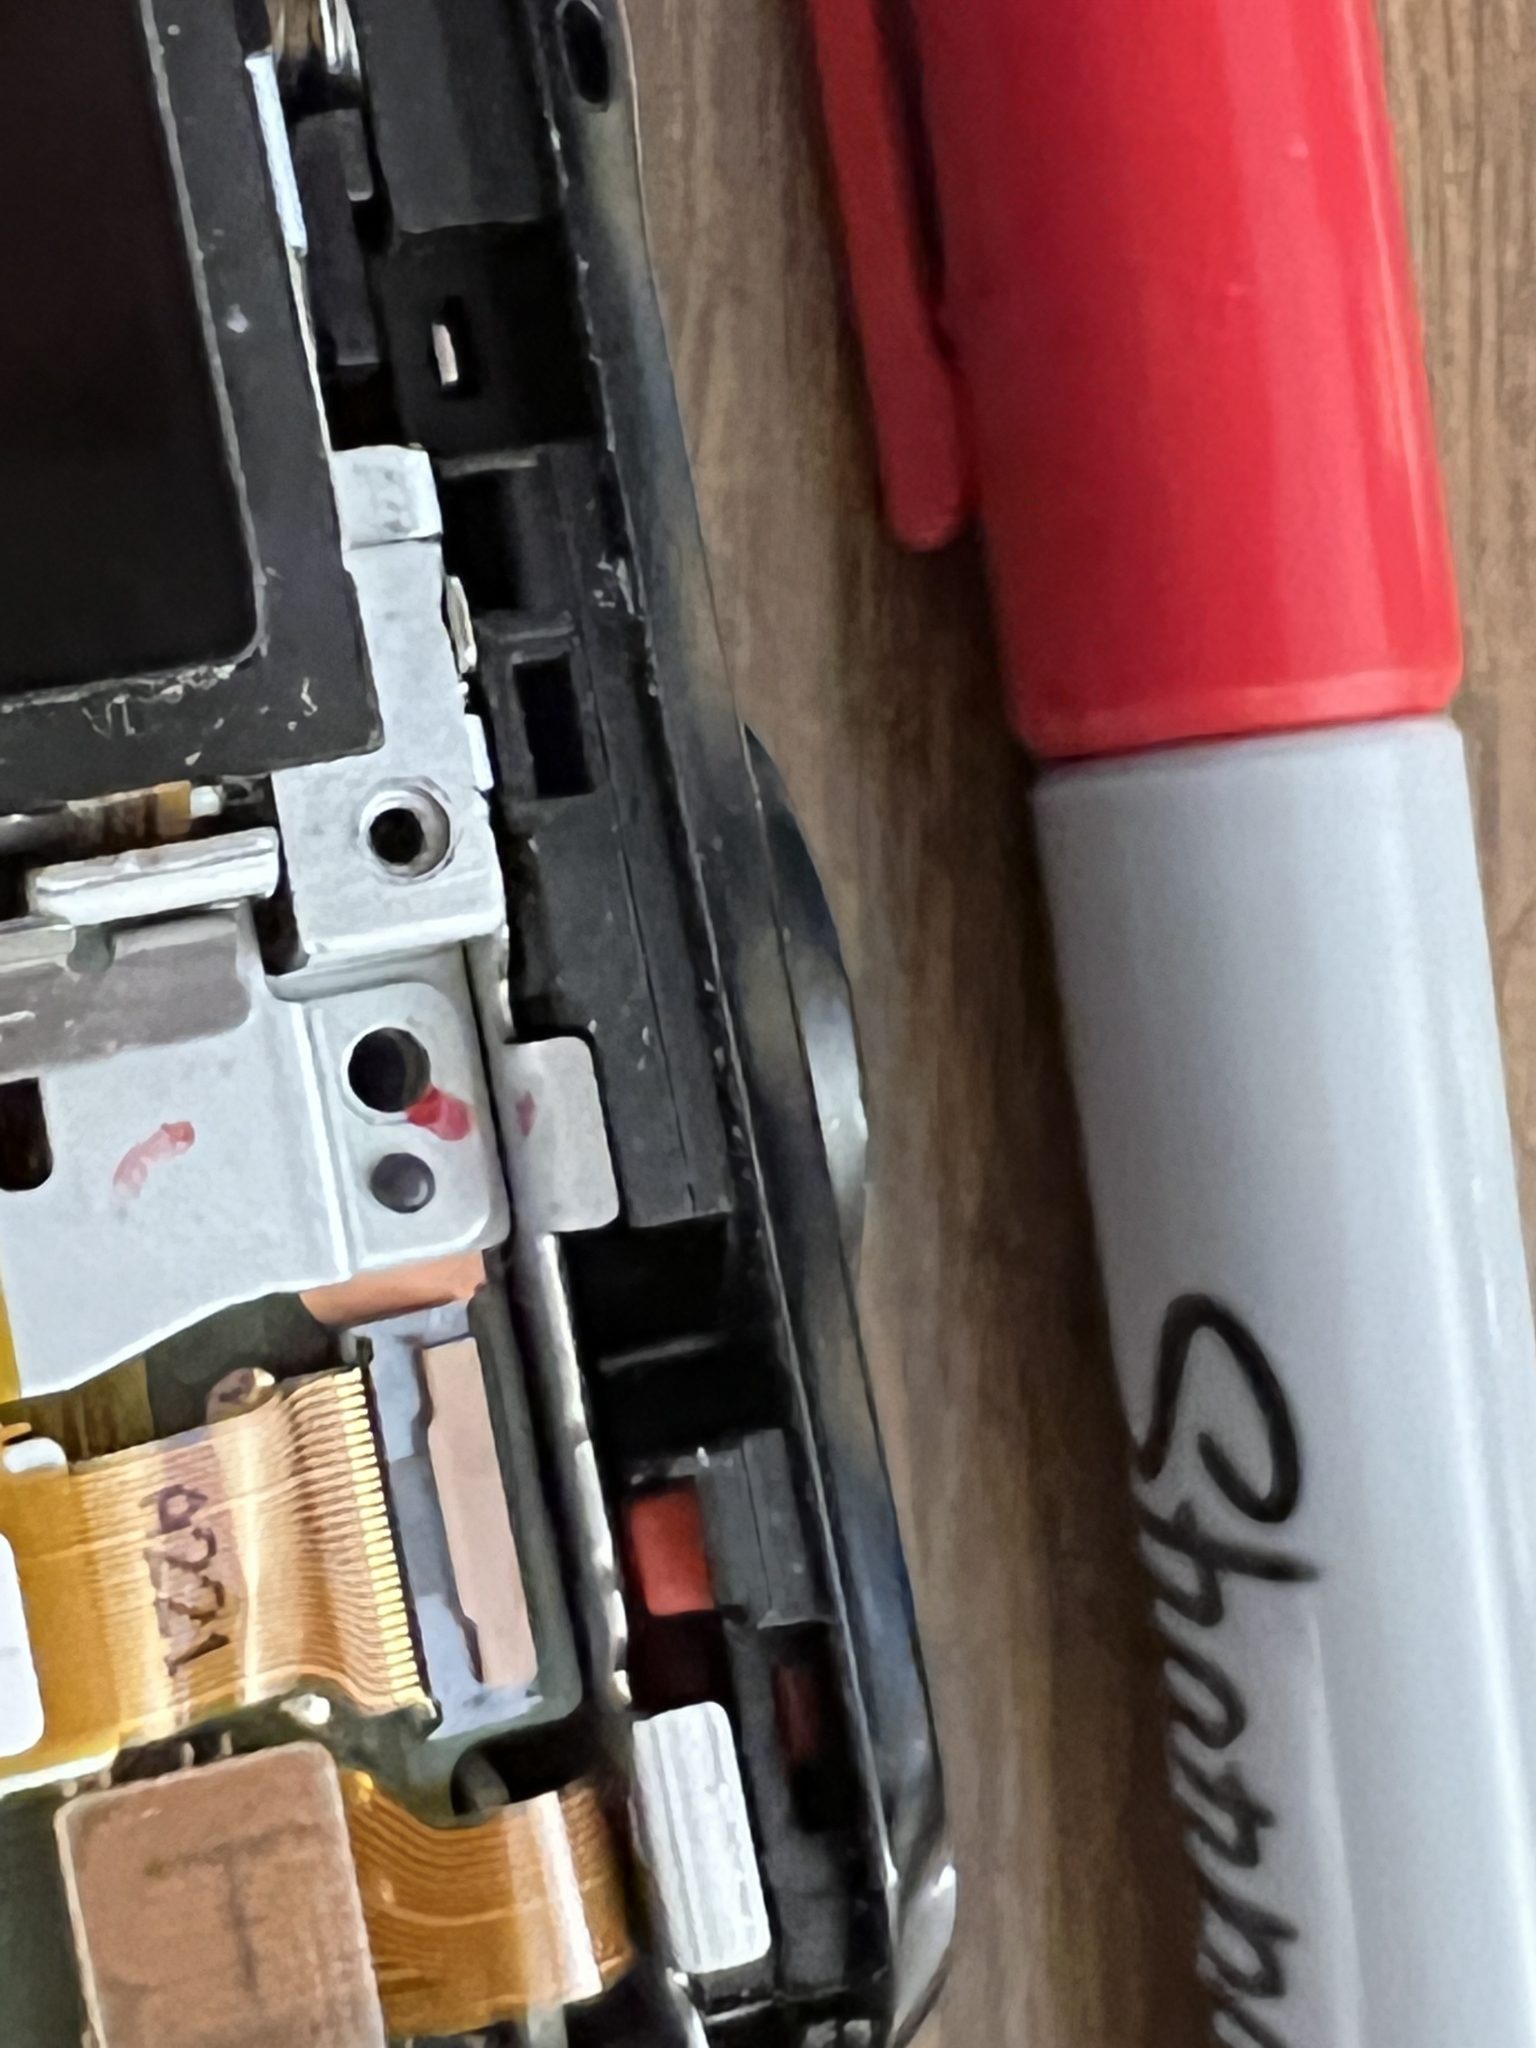
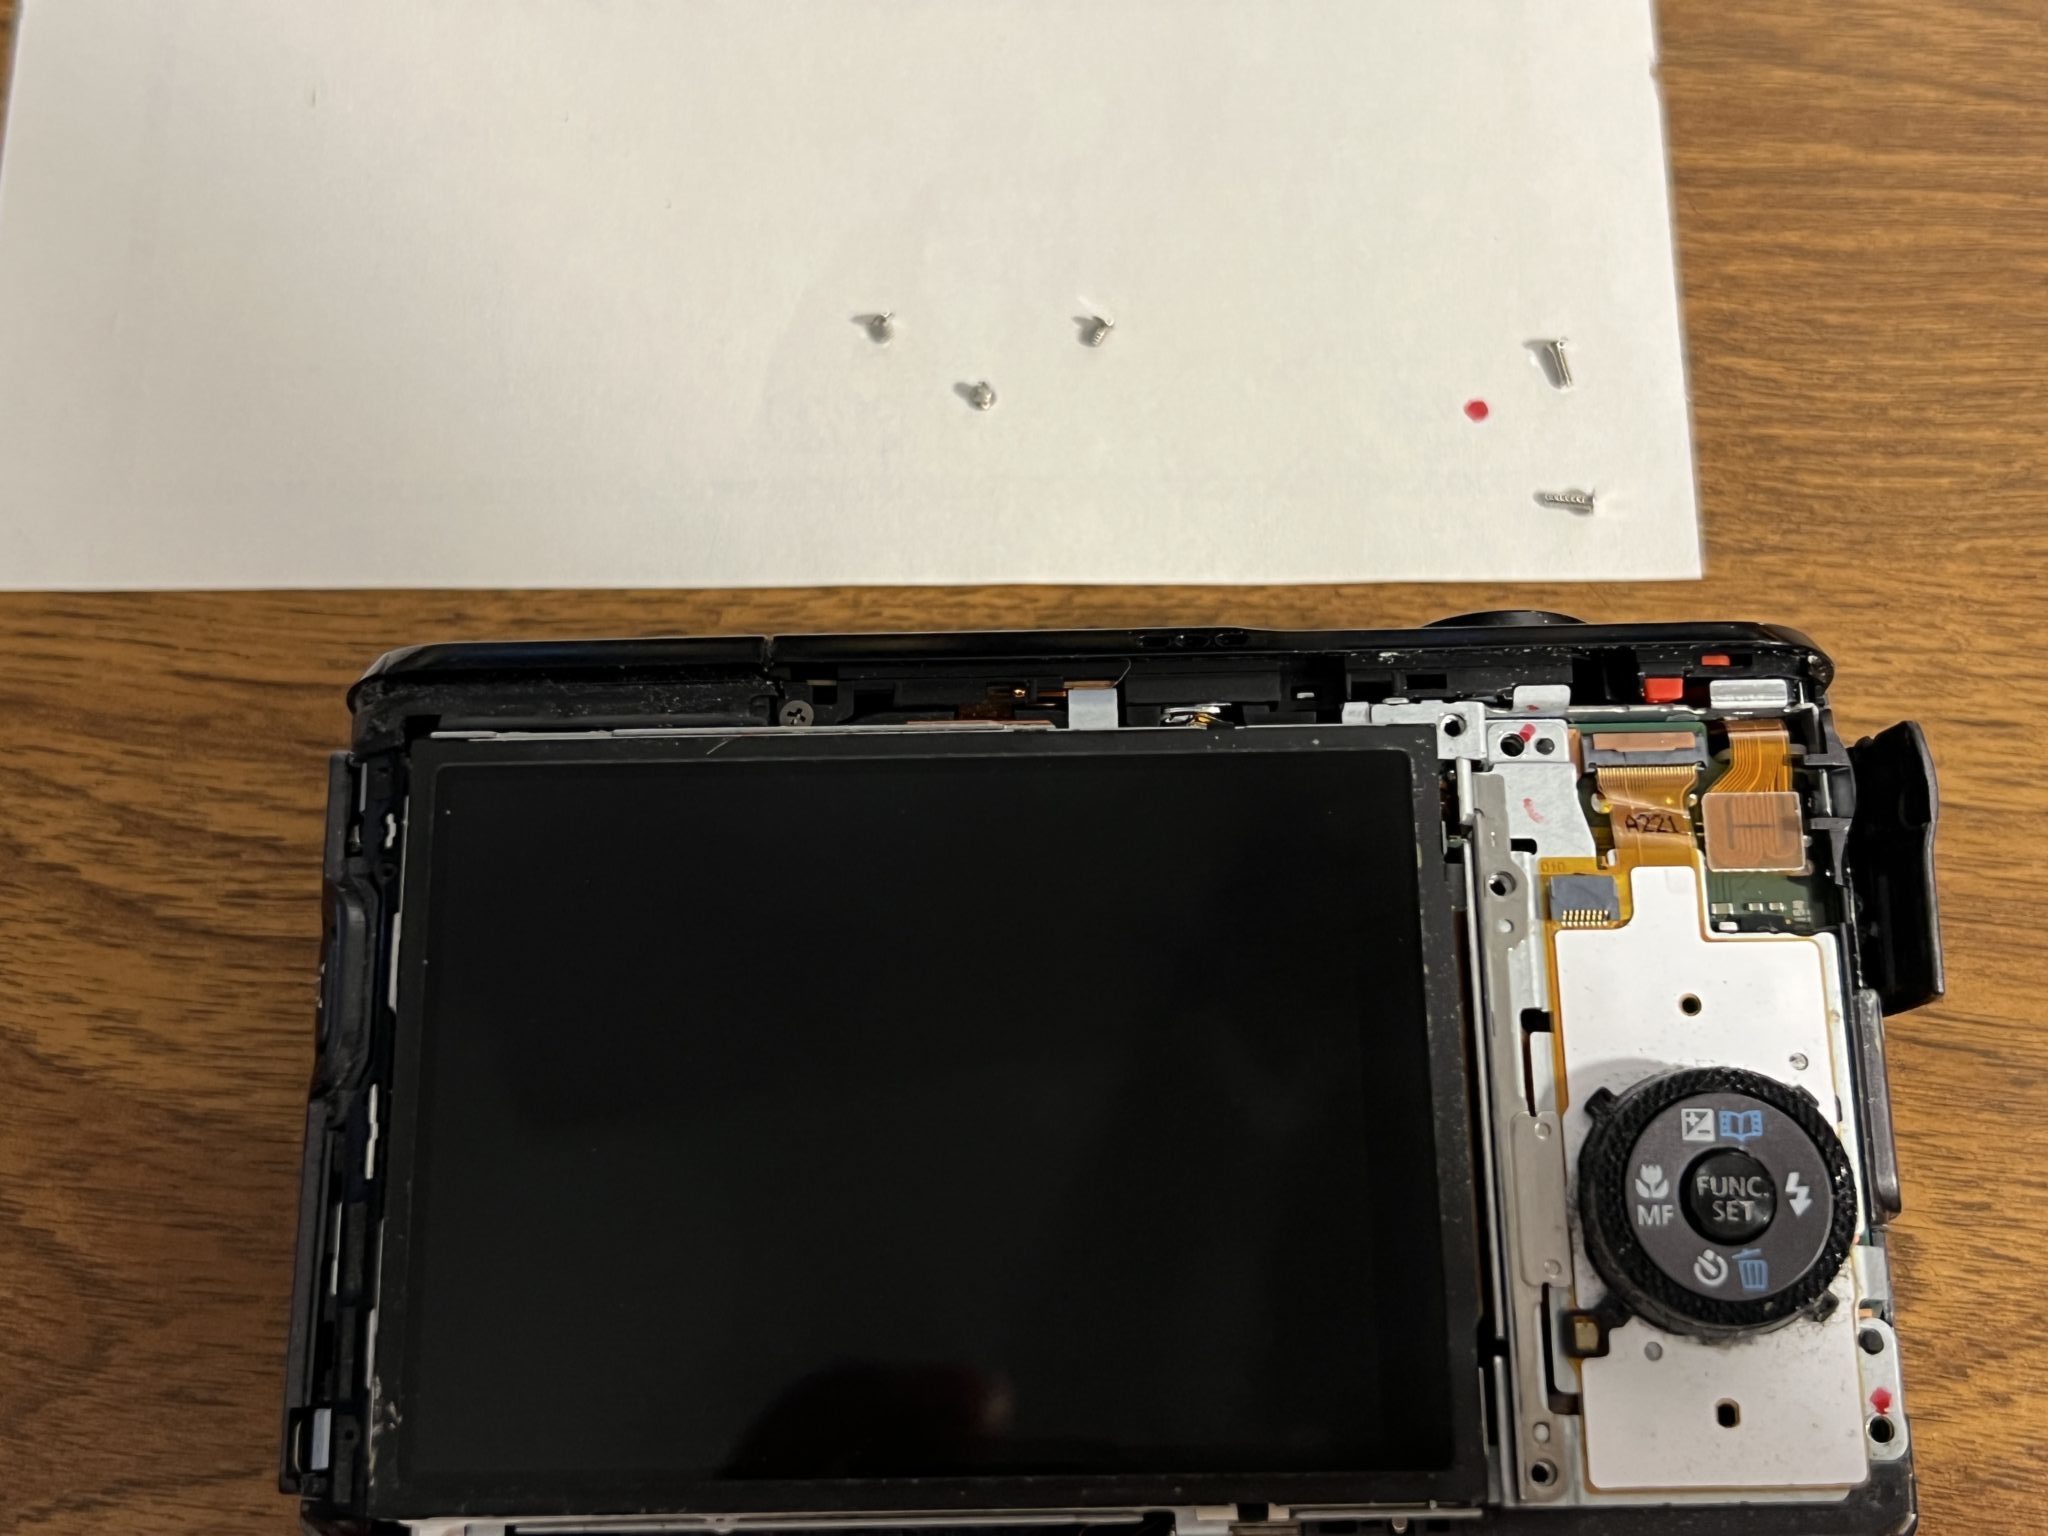
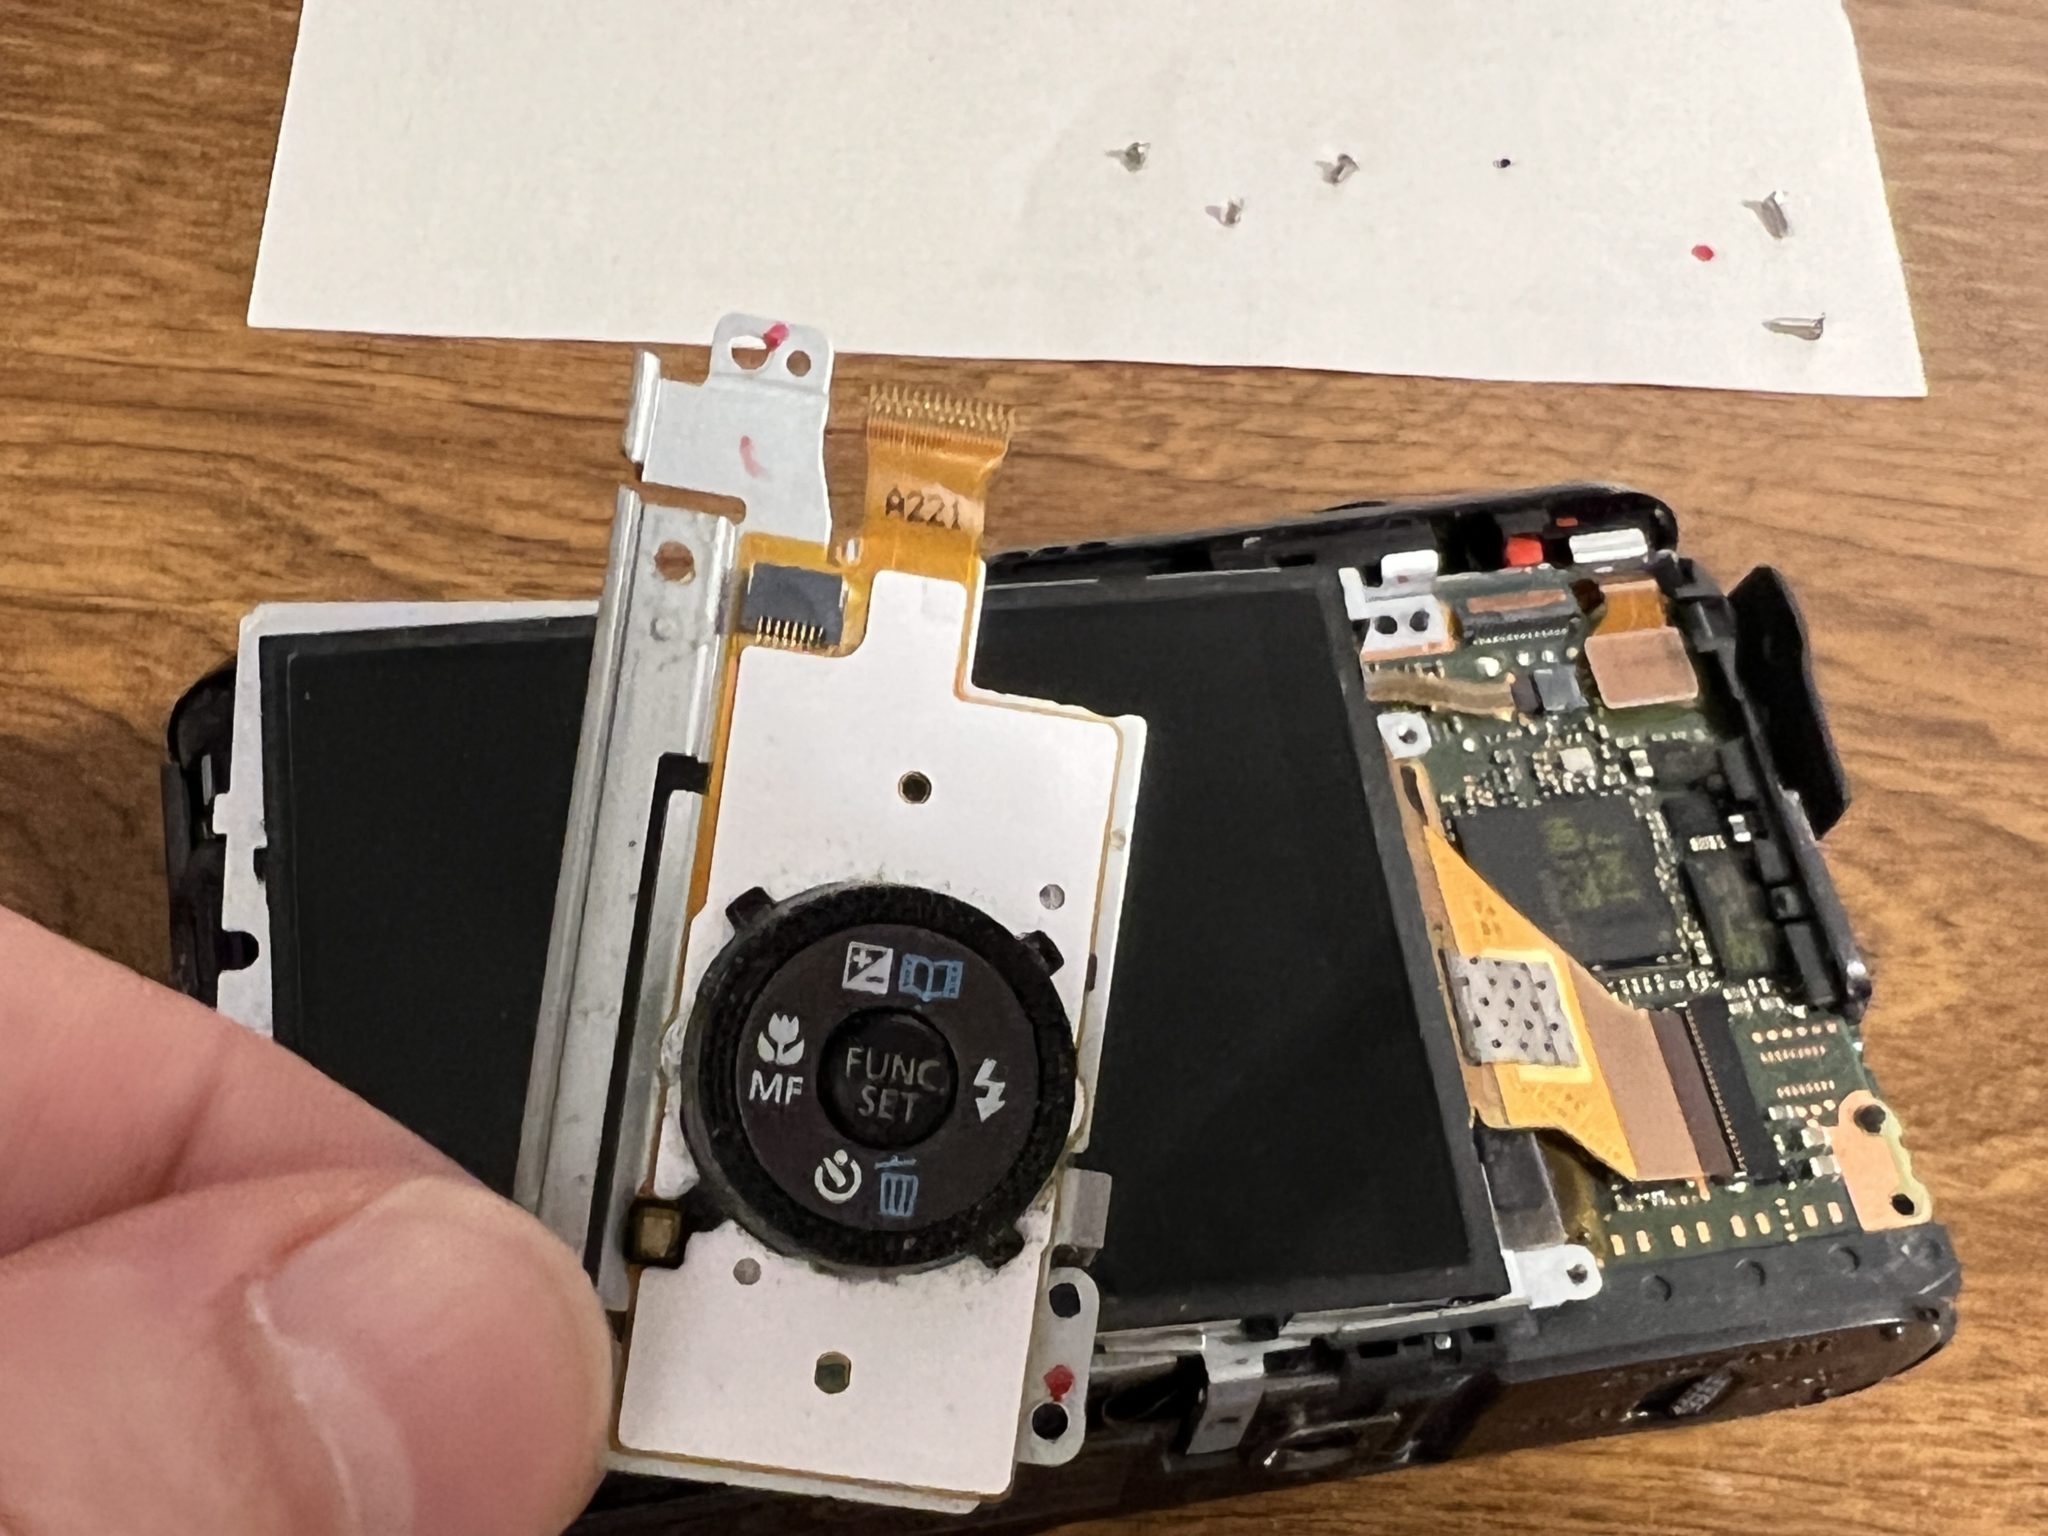
Time to detach the offending screen. A data ribbon and power ribbon (I surmise).
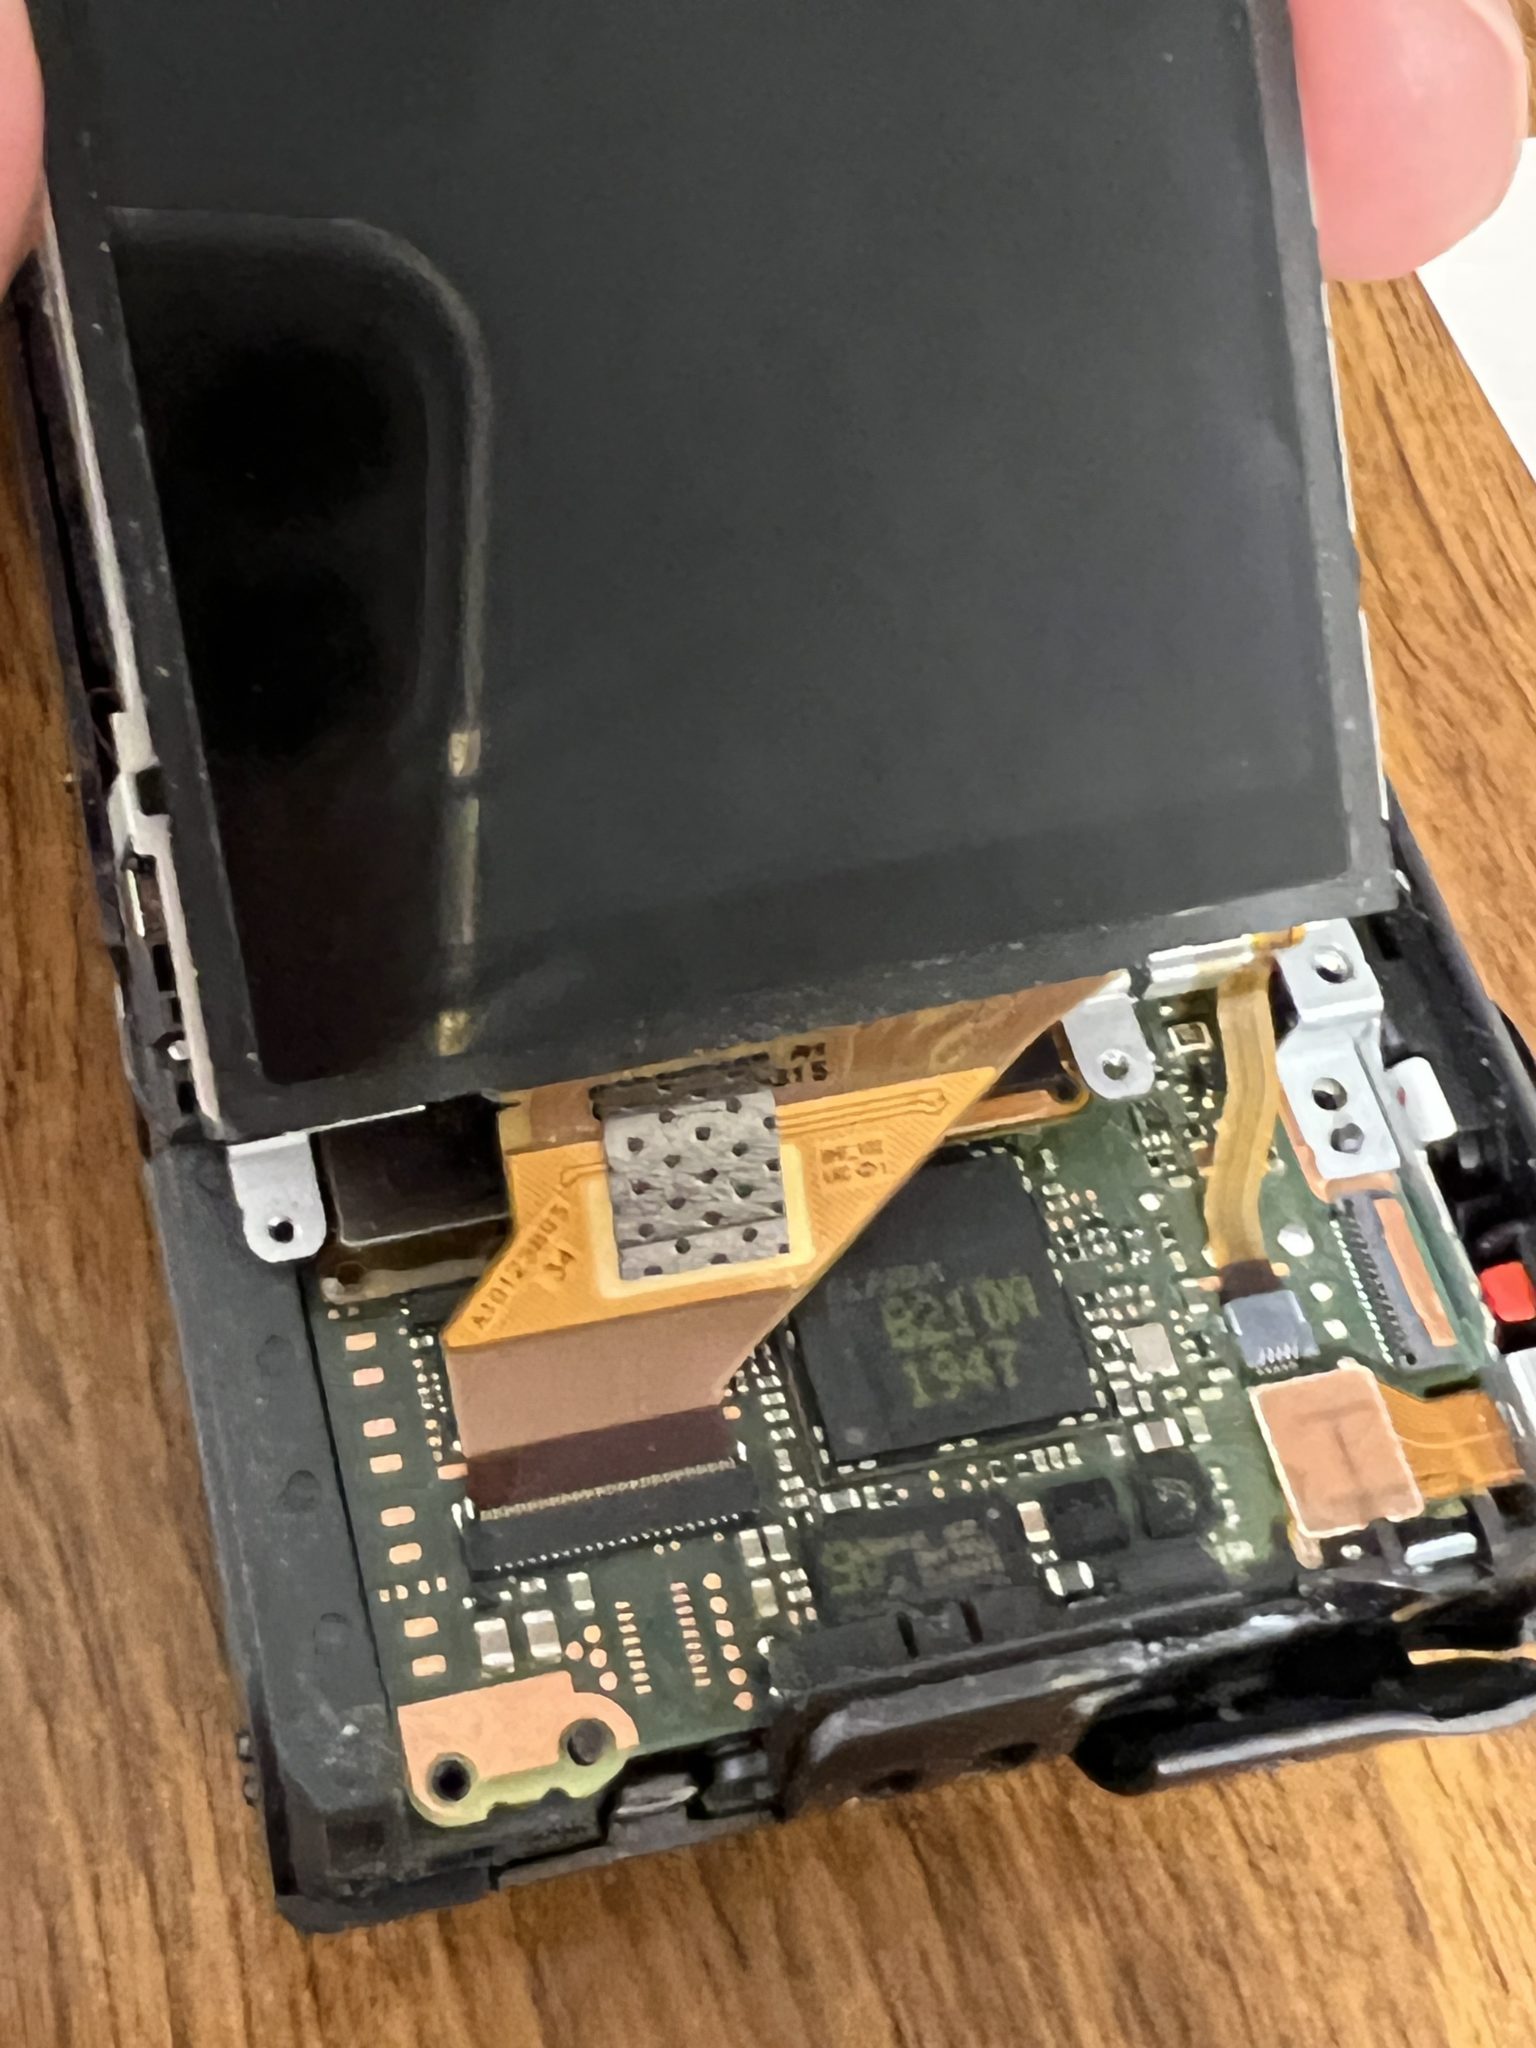
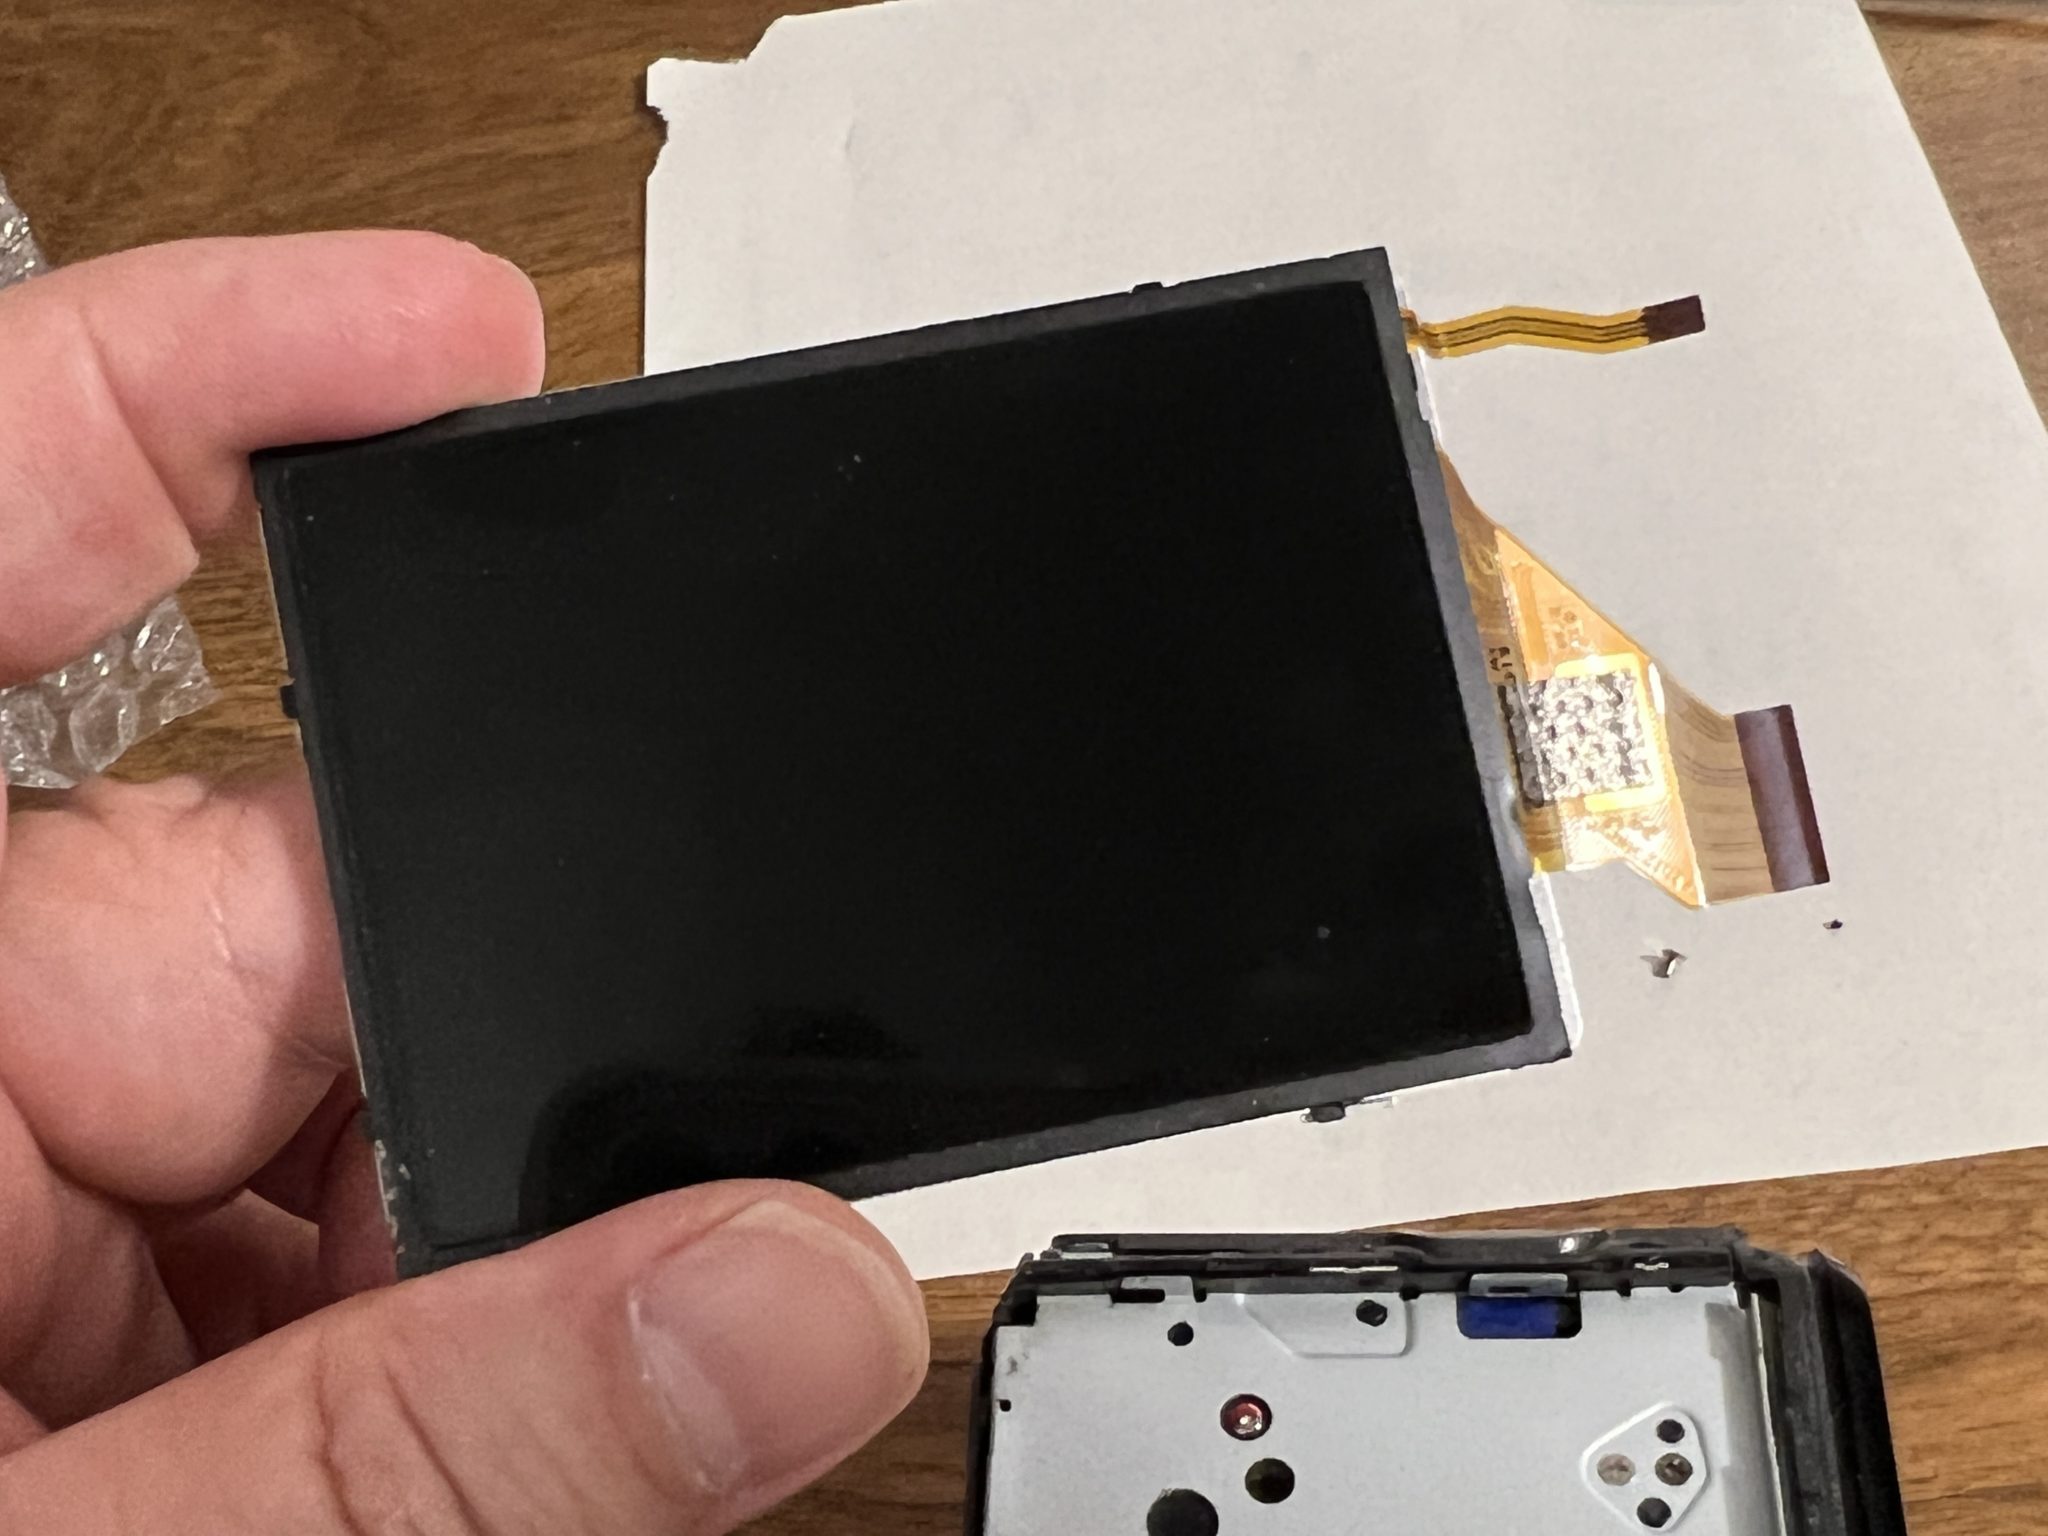
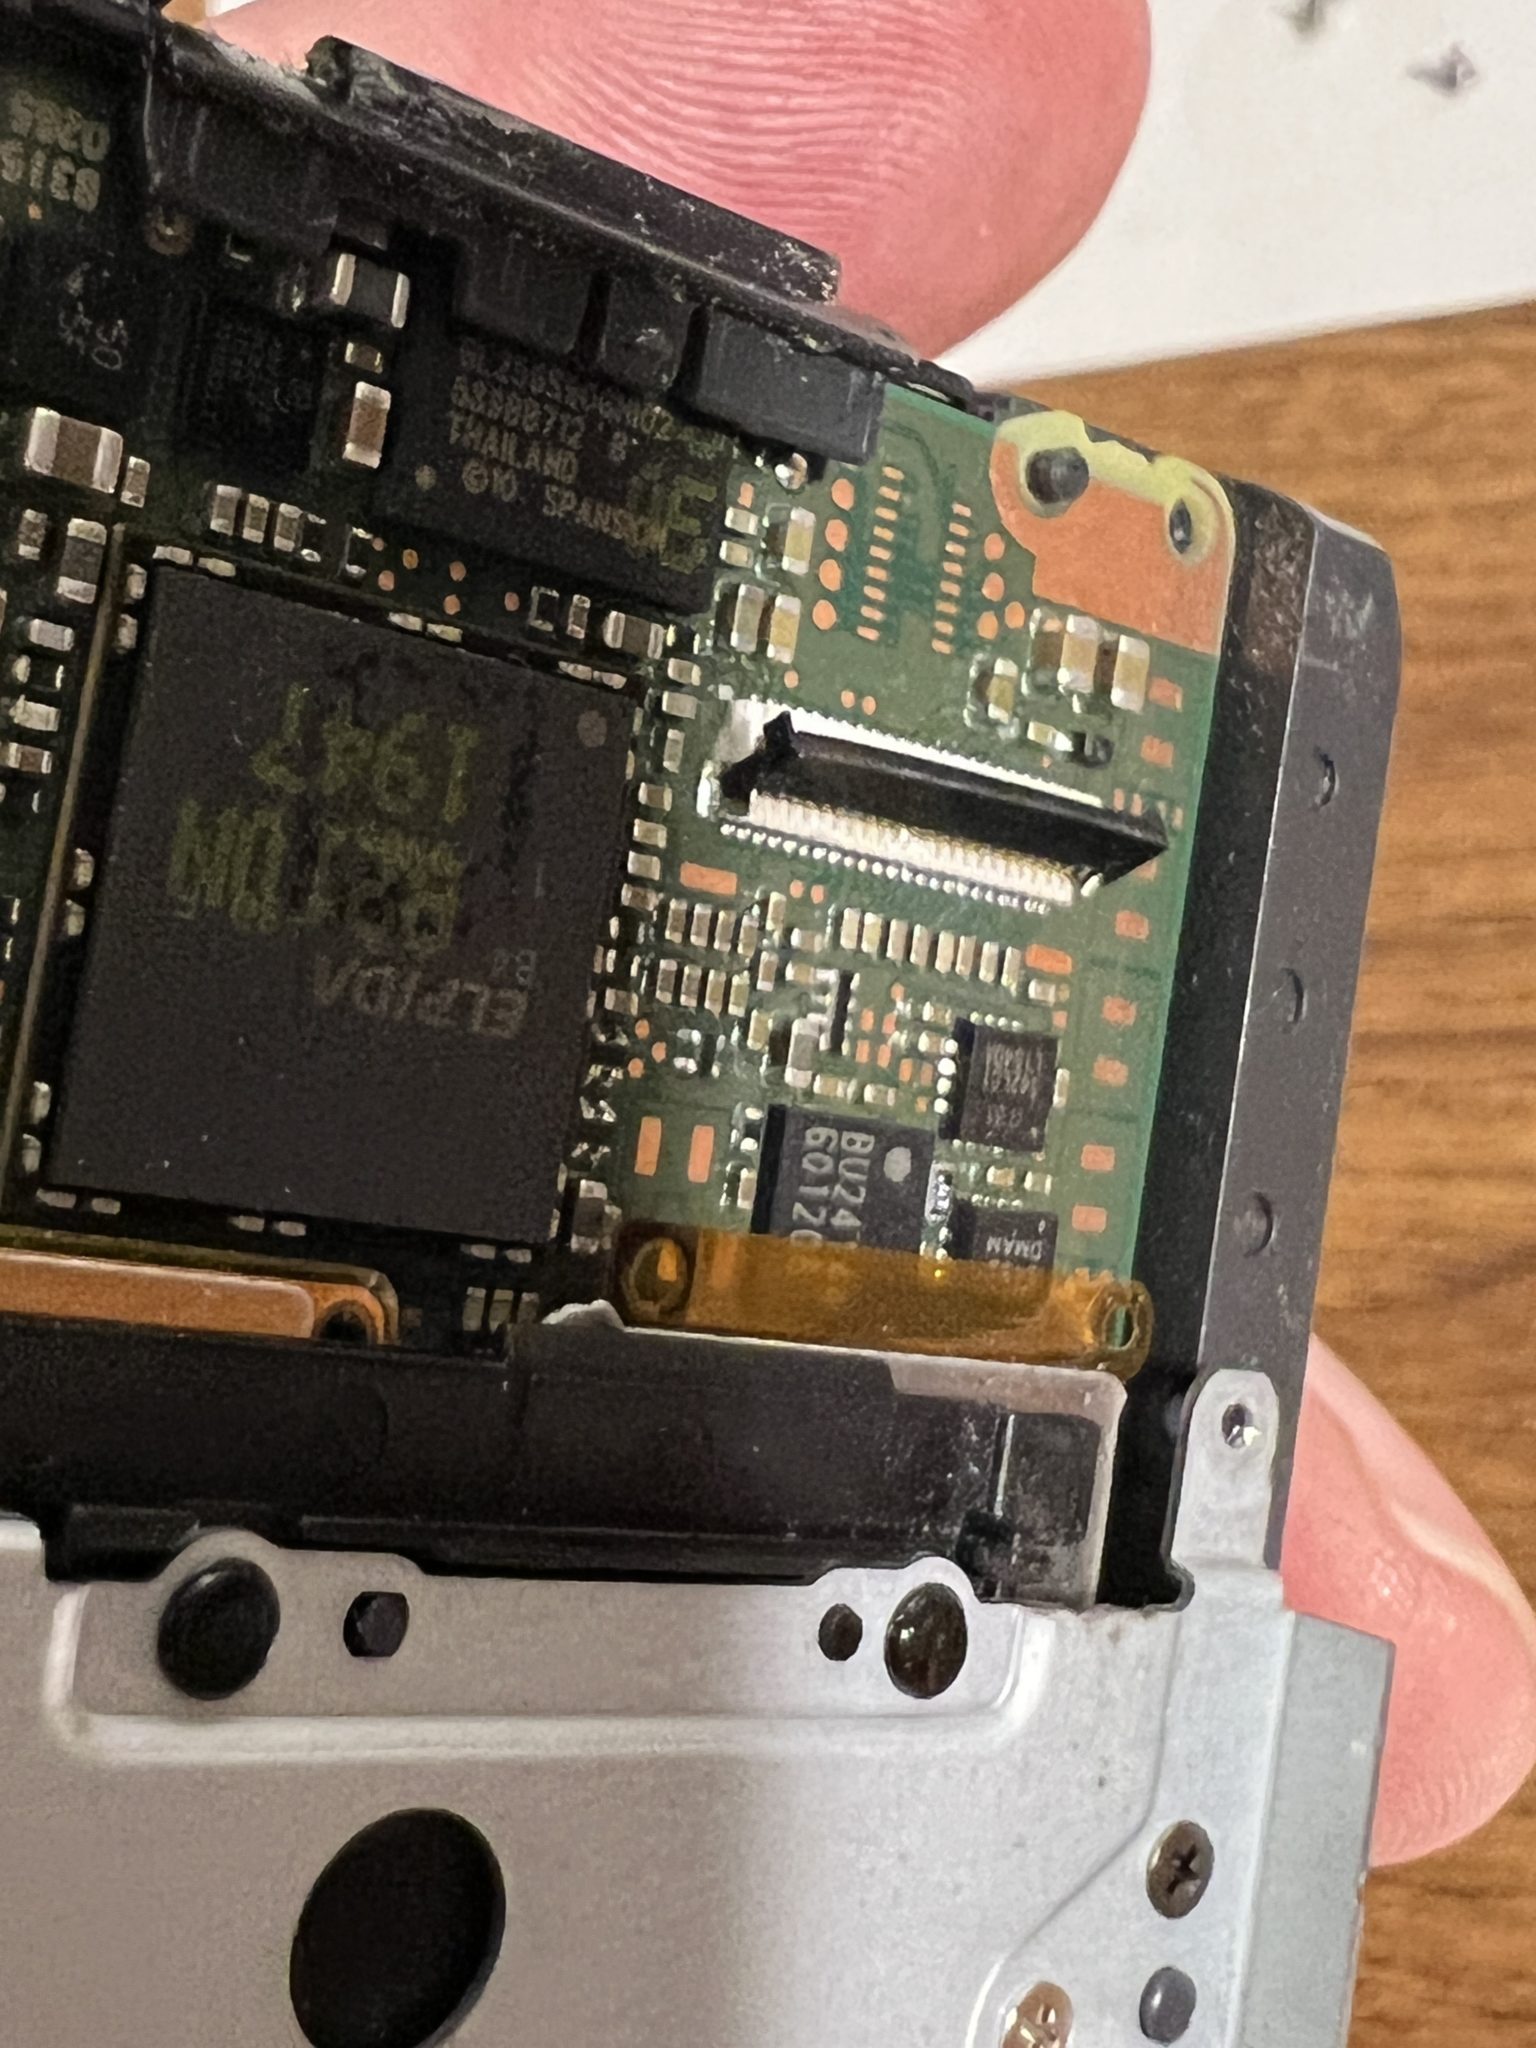
The data ribbon connection point had a little flippy flange on it, to hold the ribbon in place. It took me loads of time to get that dratted ribbon inserted into that connector. It just wouldn’t go and it was not quite as rigid as the one I took out. Very frustrating. Eventually, I got the dratted thing in and clamped down the flippy.
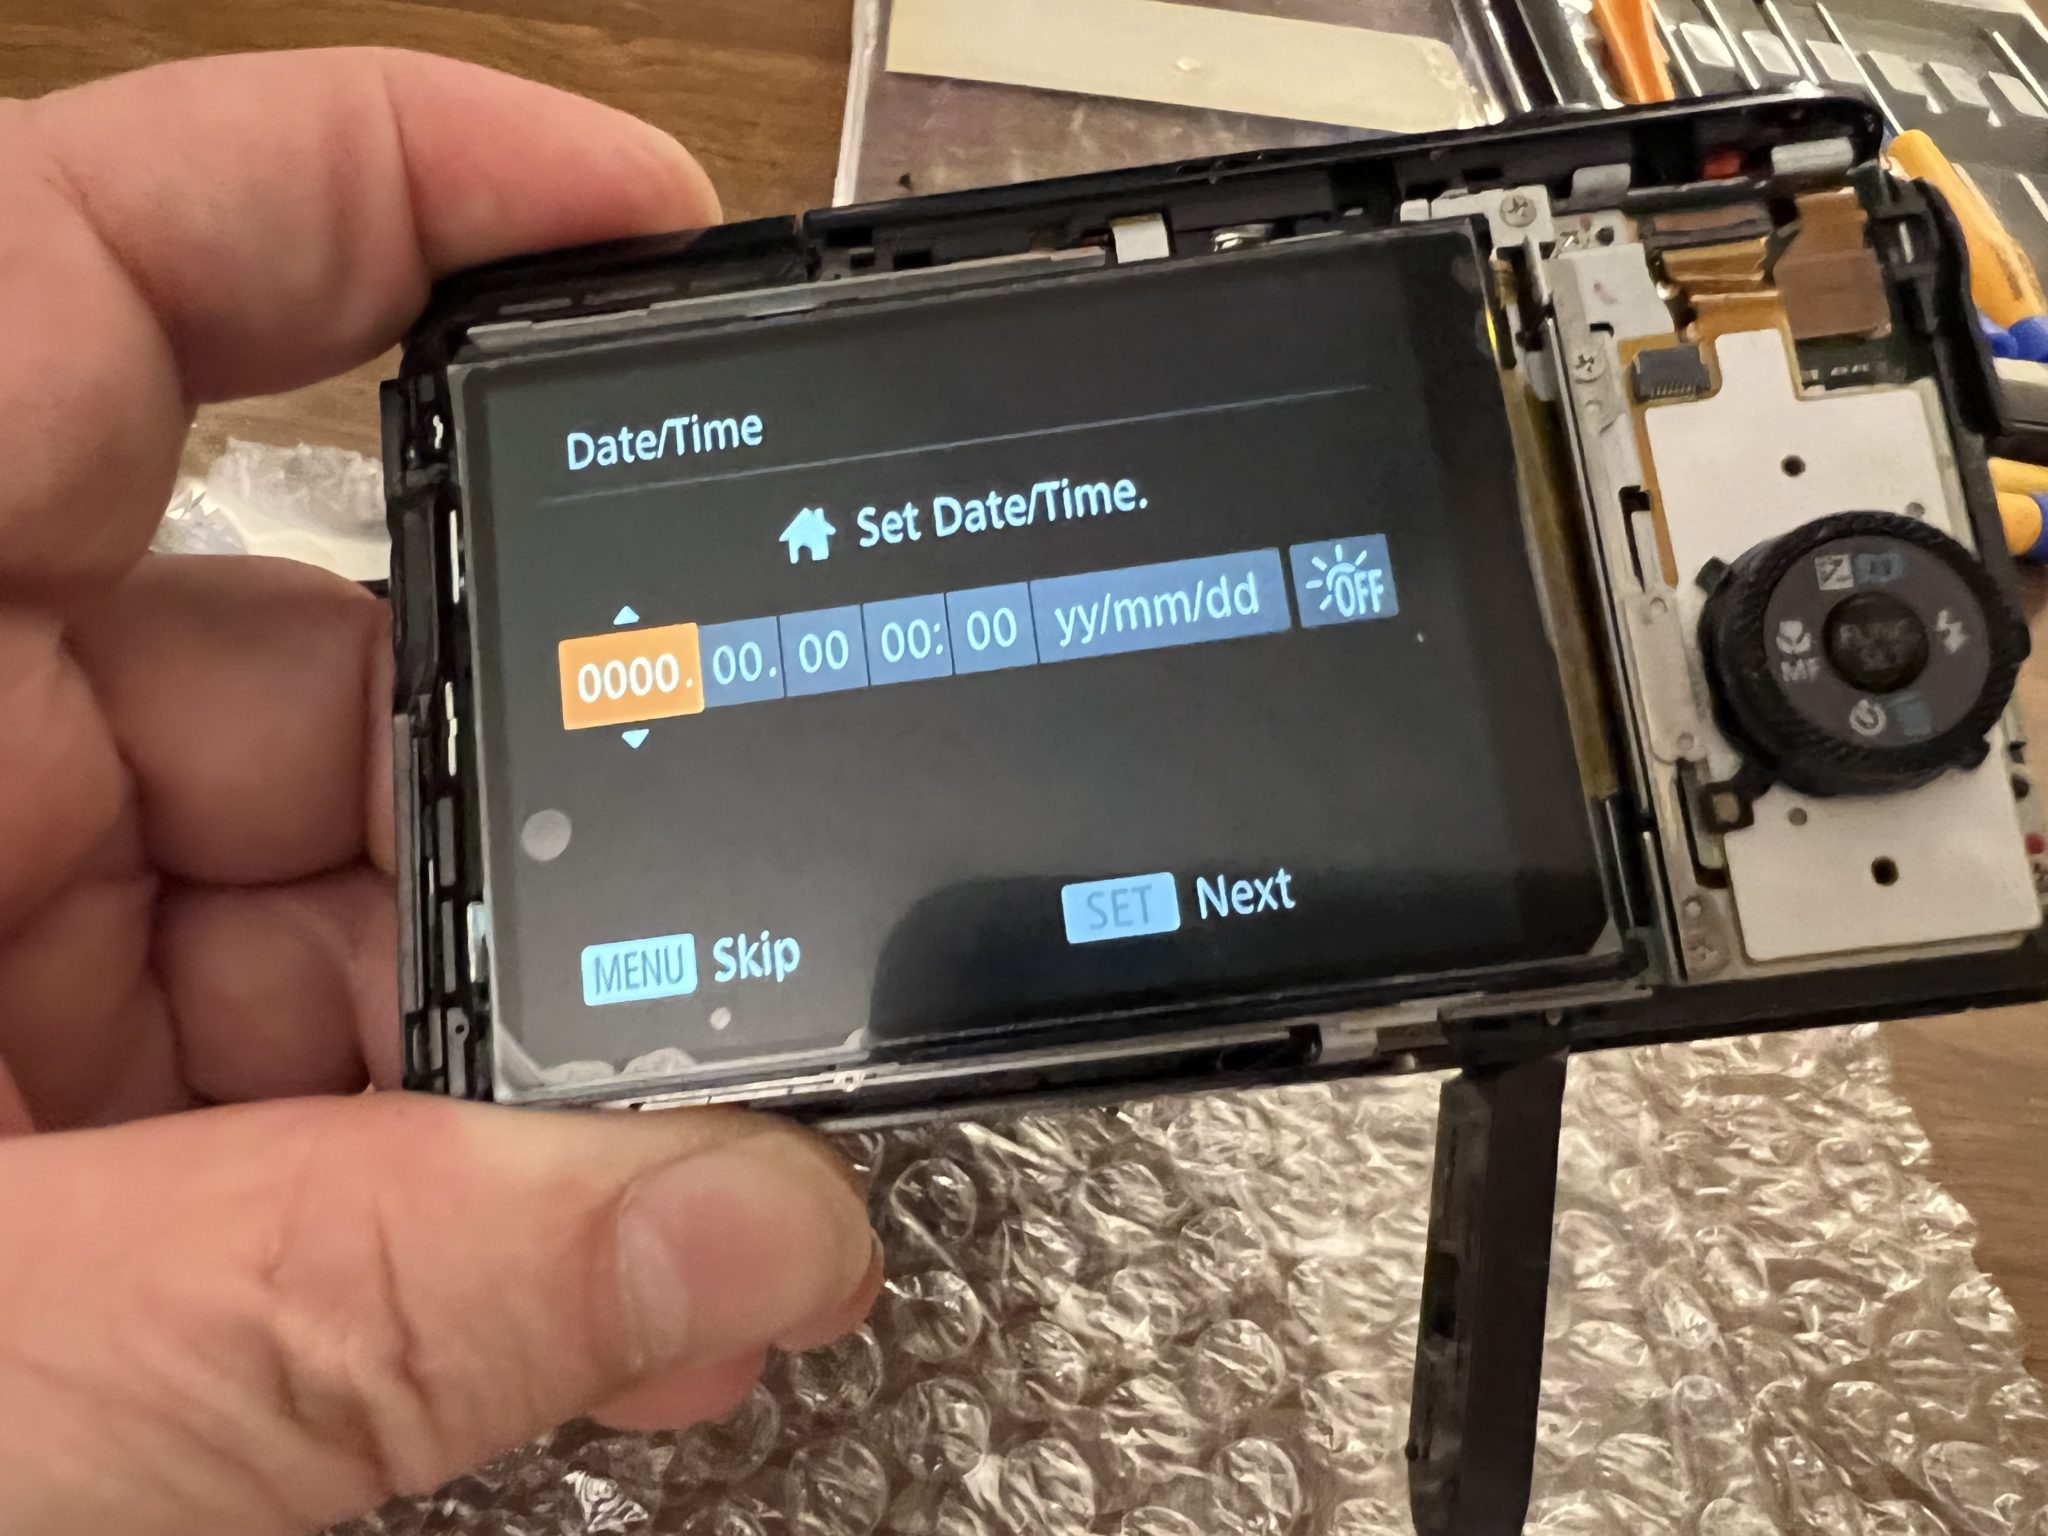
Ta da!
But that’s not the end of the story. Remember that small orange ribbon that was involved with the removal of the case back? Well, in trying to reconnect it to the board… it broke.
So, I got to discover another part of the camera, the part that handles power and also changes settings to presets.
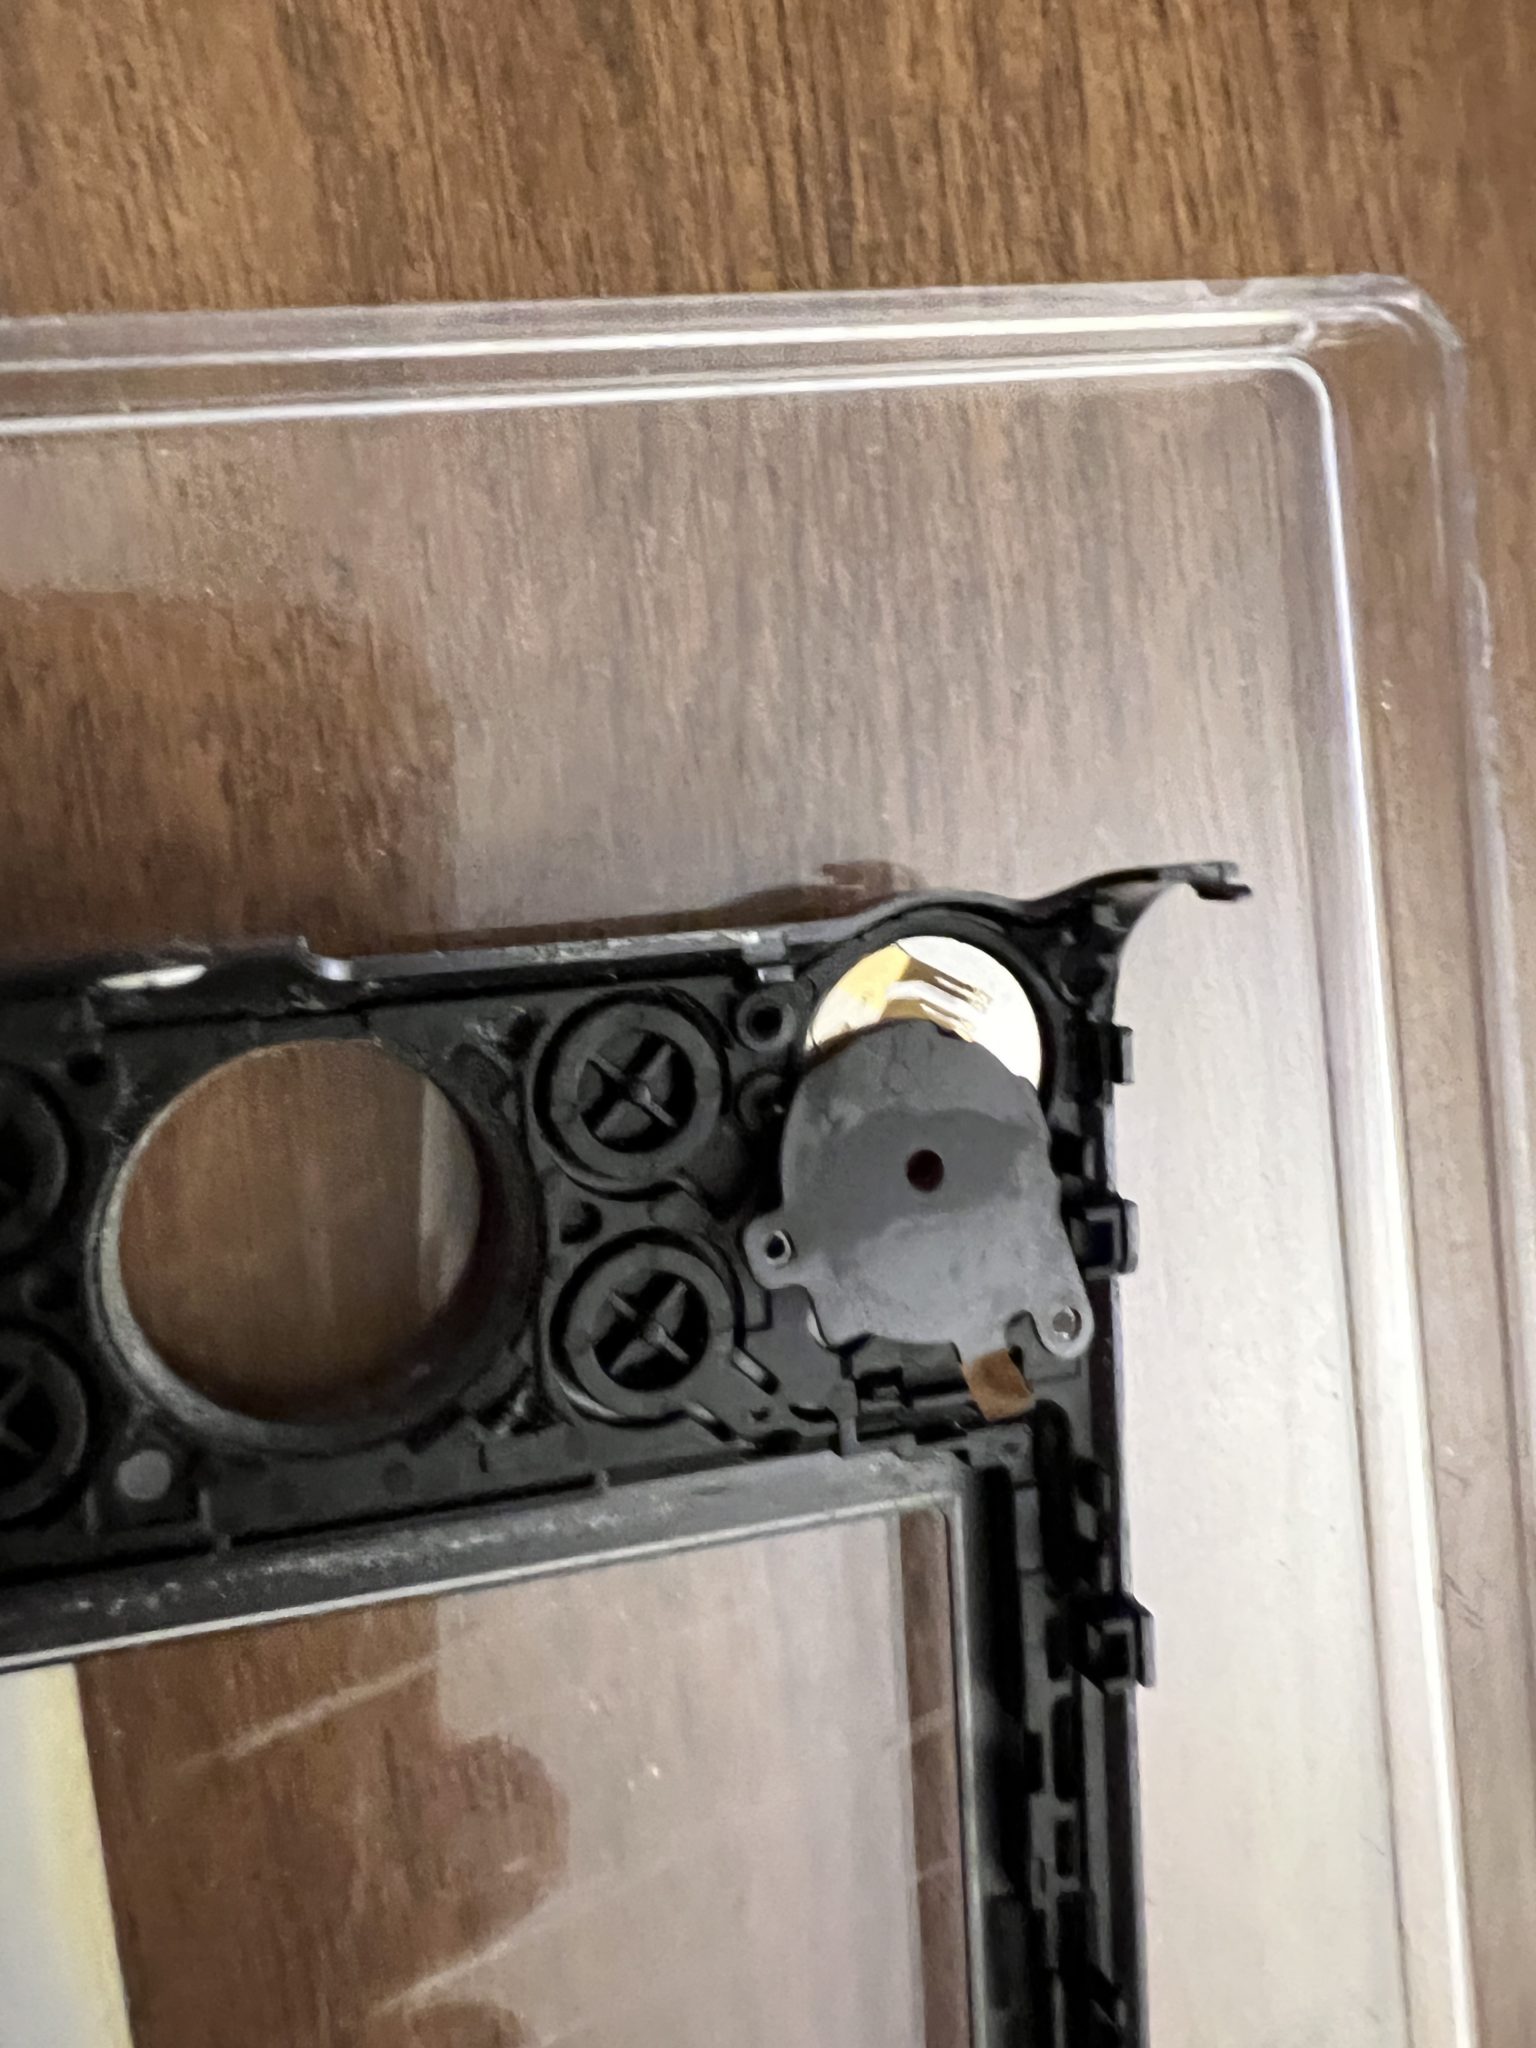
Once I got a good look at this, I hunted some down online.
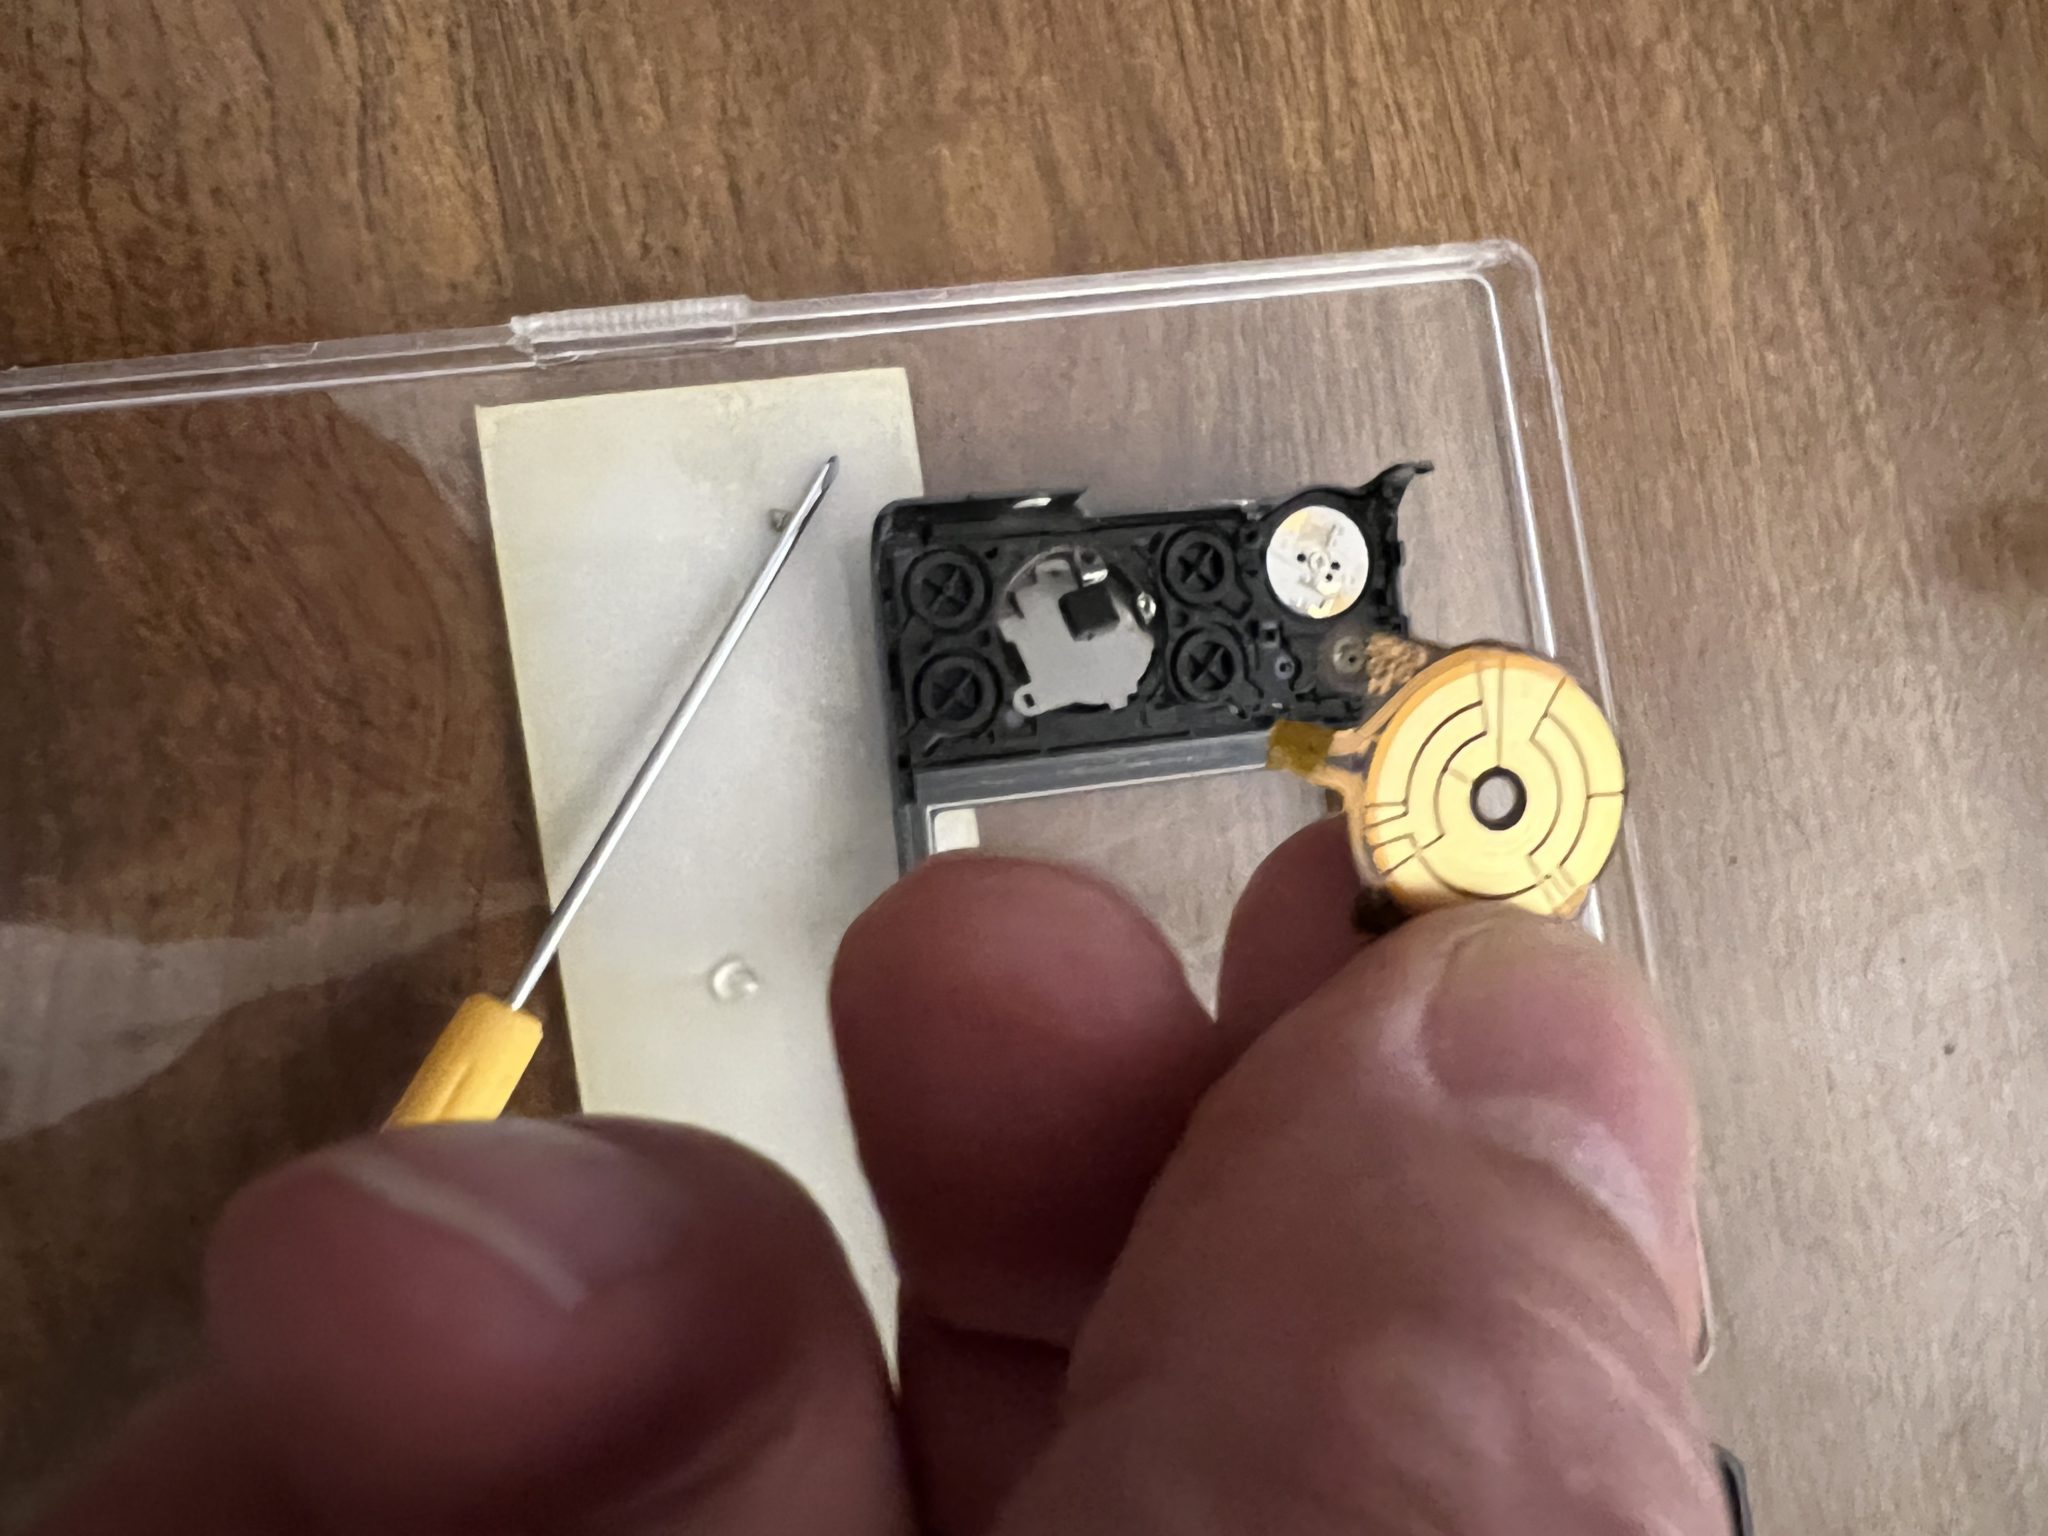
The whole project is now on hold while I wait for three of these little buggers (I’m not taking any chances in case I break another in trying to connect it) to arrive from China. Not expensive at all, but not exactly local.
Ribbon by ribbon.
If you want to help with this project, and liked the Rome photos both daily and when I am in Rome, I’ve put two batteries for this camera on my wishlist. HERE




What is the exact model of the camera, Father? Is it a Canon Sureshot?
Mike
A quick consultation of the photo of the camera at the top of this post suggests that it is a Canon SX720 HS, but “Powershot”, I think, not Sureshot.
New title:
Fr Patient Engineer Z
You must have prayed for patience and God gave you an opportunity to
practice it.
Many Blessing to you Father.
Pingback: UPDATE: DYI Camera Repair | Fr. Z's Blog